
What Counts as Trade Show Signage: The Five Positions in Your Booth
Walk into your empty booth space on setup day and look up, then around, then down. Everything printed, hanging, standing, or draped that carries your brand is trade show signage, and it lives in five distinct positions inside that rectangle of floor.
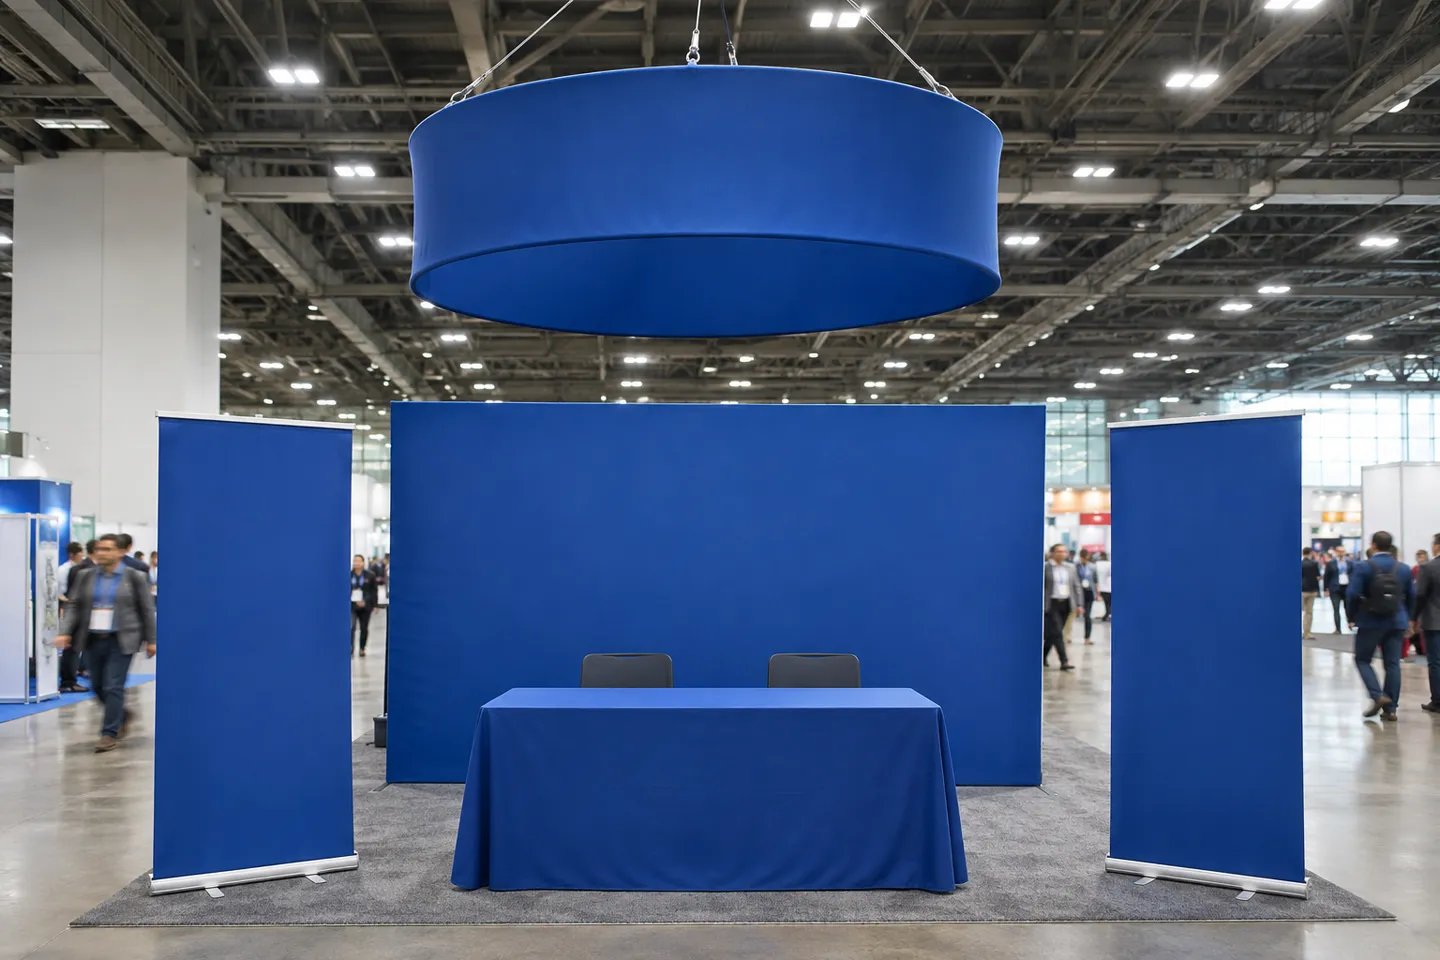
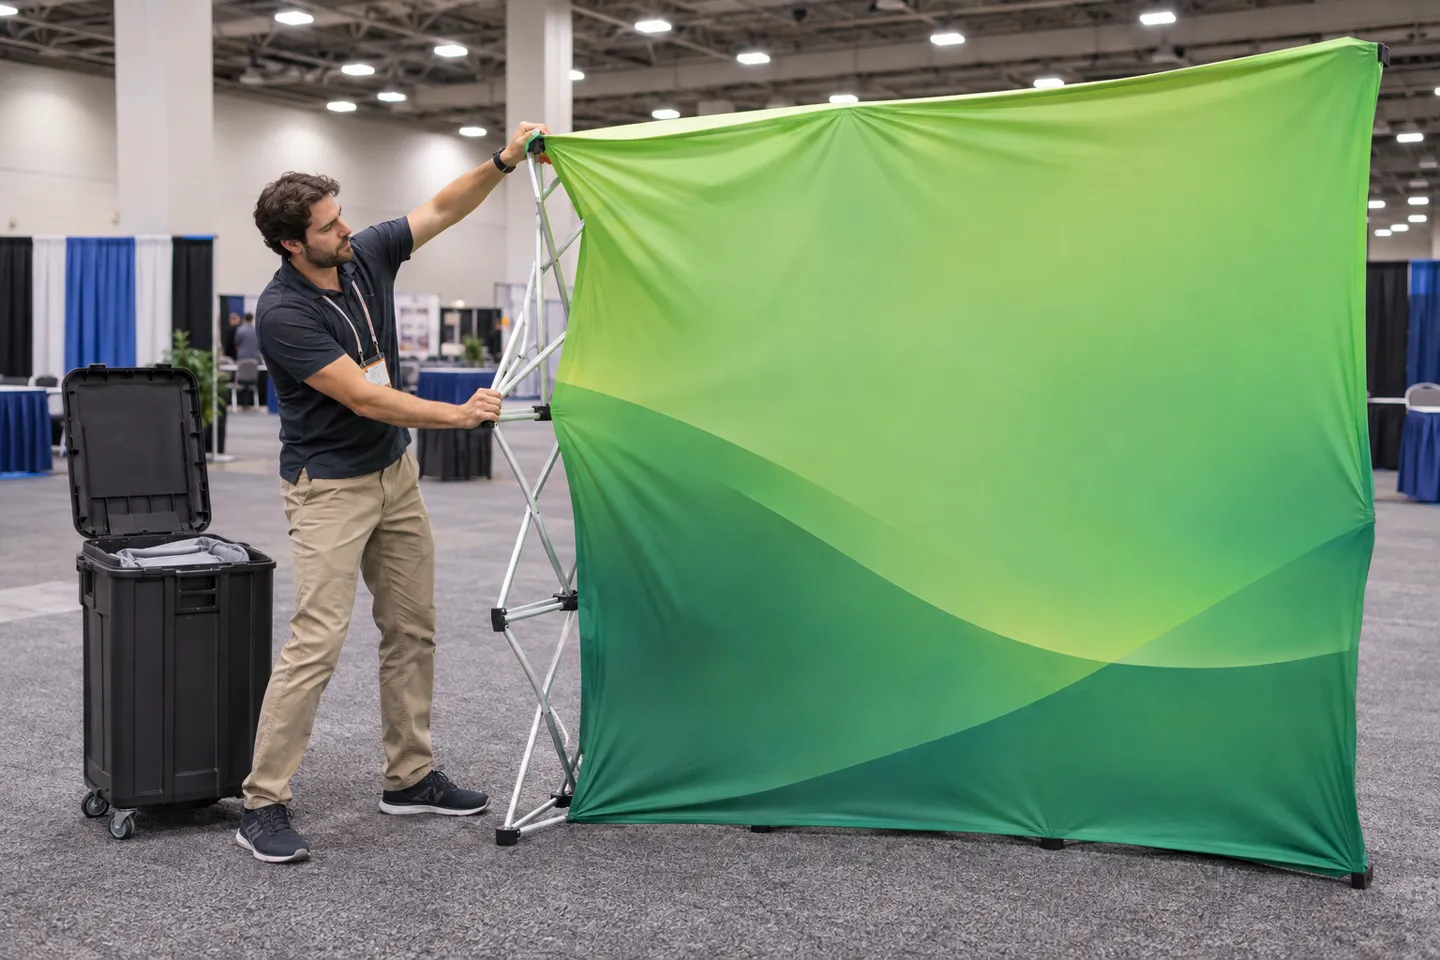
A table runner with your logo covers the table position. Retractable banner stands plant your message at the floor position, right where attendees pause at the edge of your space. Pop-up displays, tension fabric backwalls, and lightboxes fill the wall position, which does most of the visual work in a standard 10×10 or 10×20 booth. Above all of it sits the overhead position: hanging signs suspended from the hall ceiling, visible from three aisles away. Outside the hall itself, feather flags and outdoor banners cover the exterior position, catching traffic before anyone reaches the doors.
| Position | What it is | What it does | Typical sourcing |
|---|---|---|---|
| Table | Table covers, runners | Marks your space at eye level of a seated conversation | Online print shops |
| Floor ⭐ | Retractable and roll-up banner stands | Delivers one message where attendees pause | Online print shops |
| Wall ⭐ | Pop-up displays, tension fabric backwalls, SEG lightboxes | Carries your main visual identity | Online print shops or booth builders |
| Overhead | Hanging signs and blimps, 10 to 20 ft | Pulls attendees from neighboring aisles | Booth builders with rigging coordination |
| Exterior | Feather flags, outdoor banners | Catches foot traffic before the entrance | Online print shops |
The floor and wall positions do the heavy lifting for most booths, which is why they are where most budgets should start. Overhead signage sits in a different category entirely, and not just in price. Whether you are allowed to hang anything at all depends on your booth type, and that rule catches more first-time exhibitors than any print error ever will.
The rest of this article walks up through those positions in order. Start where your booth actually is, and stop where your booth stops.
Making a 10×10 or 10×20 Booth Read Across the Aisle
An inline booth succeeds or fails at one distance: across the aisle. Attendees decide whether to enter your space in the two or three seconds it takes them to walk past. Your signage has to deliver a readable message in that window.
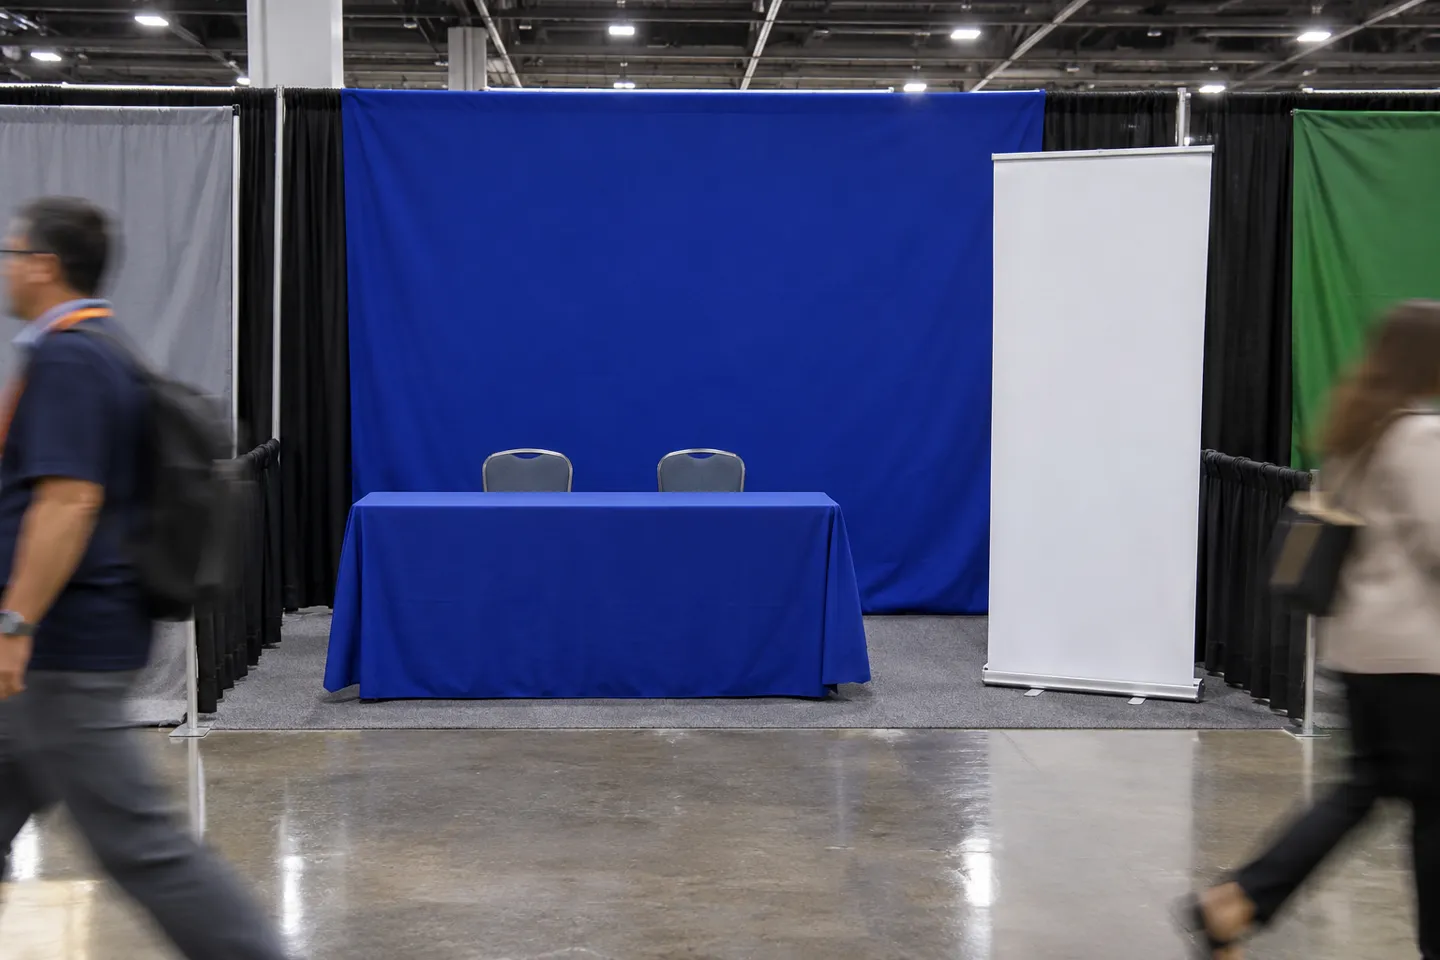
The industry rule of thumb is one inch of letter height for every 10 feet of viewing distance (Pannier Graphics, 2026). A headline readable from 30 feet needs letters roughly 3 inches tall. Most booth photos that look great on a designer’s screen fail this test: the headline works at 8 feet and disappears at 30.
The readability rule
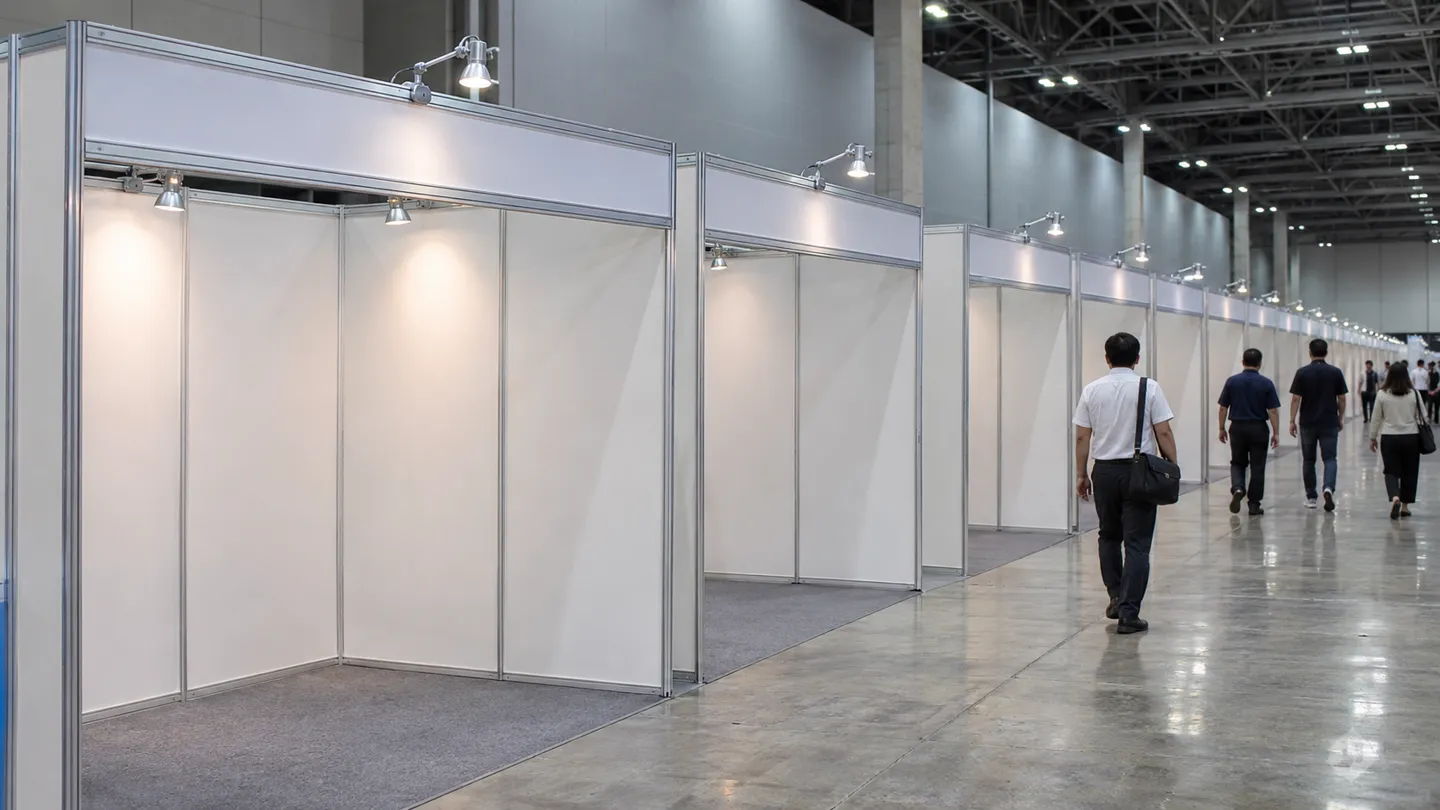
Height limits shape the rest of the composition. Inline booths generally cap backwalls at about 8 ft, peninsula booths reach roughly 16 ft, and island booths can approach 20 ft where ceiling heights allow (Westshade, 2026). In an inline space, that 8 ft ceiling on your backwall means the wall position and the floor position have to carry everything.
| Booth size | A composition that works | What it costs you to get wrong |
|---|---|---|
| 10×10 | One 8 ft backwall with a 3 to 4 inch headline, one retractable banner stand, a branded table cover | A wall that reads as texture instead of a message |
| 10×20 | One 20 ft backwall carrying the brand, a second panel for product proof, two banner stands framing the open end, table covers | Attendees enter, see clutter, and keep walking |
Where you order from matters as much as what you order. Online print shops are excellent at portable pieces: banner stands, table covers, flags. The failure mode shows up when large-format work gets treated like small-format work. Exhibitors report print vendors cutting off margins that were supposed to be bleed area, ruining expensive large prints (Reddit, r/Entrepreneur, 2016). Before you order a backwall from a shop that has only ever printed you a banner, ask two questions. Does this shop run large-format media in-house, and who owns the color proof? Ask for a material sample if the answer to either one is unclear.
Frequency adds one more cost line: storage. Graphics tubes and collapsed frames fit in a closet. Full booth properties do not, and some builders offer warehouse storage between shows so the same kit tours without living in your office. Price that in when you compare buying against renting, before the second show makes the decision for you.
Buy, Rent, or Build Custom: Picking the Right Sourcing Route
Three routes can put signage in your booth, and the right one follows your show calendar more than your design taste.
| Dimension | Buy portable online | Rent a standard system | Build custom with a booth partner |
|---|---|---|---|
| Upfront cost | Lowest per piece | Medium, predictable per show | Highest, one-time |
| Across shows | You store and reuse it | Nothing to store | Property may retire after one show, or tour with storage support |
| Coordination load | You manage print, shipping, and setup yourself | Rental house handles structure; you still hang graphics | Builder manages production, rigging orders, and install |
| Exit cost | It sits in your closet | None | Design changes mean rebuilding |
Frequency draws the line. One or two shows a year with a portable kit favors buying online, because the pieces pay for themselves and store in a tube. A touring schedule across cities favors either rental, where the structure waits for you at the venue, or custom builds supported by a builder’s storage network. A fixed large island that anchors your biggest annual show is custom territory. Most custom properties serve a single show before retiring, and that reality is exactly why rental fleets and builder storage programs exist.
Overhead signage does not follow this fork cleanly. A hanging sign cannot be bought from a print shop and hung by your team. It arrives only through rental or custom routes, and only when your booth type qualifies for ceiling rigging at all. That qualification question is where the next section goes. It is worth reading even if your current booth is a 10×10, because it decides whether overhead ever belongs in your plan.
Overhead Hanging Signs: Where Signage Becomes Engineering
Everything below the ceiling follows printing logic. Everything at the ceiling follows construction logic: load ratings, crew certifications, venue approvals, and deadlines that do not move. This is where trade show signage stops being a print order and starts being an engineering job.
Who Actually Qualifies for an Overhead Sign
Hanging signs hang from the hall ceiling, so the first filter is your booth type. Inline booths share back walls with neighbors on two sides, and they are almost always restricted from overhead rigging. Peninsula booths sit in a gray zone where every venue decides differently. Island booths are the standard candidates (Displayit, 2026). The height rules explain why: inline displays cap near 8 ft while islands can approach 20 ft (Westshade, 2026). A hanging point at 15 to 20 ft is what makes the overhead position work.
| Booth type | Overhead eligibility | Practical ceiling for signage | Lead time to plan |
|---|---|---|---|
| 10×10 inline | Essentially never approved | 8 ft backwall | Standard print timelines |
| 10×20 inline | Essentially never approved | 8 ft backwall | Standard print timelines |
| Peninsula | Venue by venue, confirm in writing | Up to about 16 ft | Add 2 to 4 weeks for approval checks |
| 20×20 island | Usually eligible | Up to about 20 ft | 6 to 8 weeks for sign plus rigging |
| 30×30+ island | Eligible, heaviest review | Up to about 20 ft, hall ceiling permitting | 8+ weeks, engineered drawings possible |
Before you design anything overhead, send the venue’s rigging question to the show’s general service contractor (GSC) in writing. Confirming eligibility in writing is the cheapest insurance in this entire process. A sign ordered for a booth that was never going to be approved is money already spent.
What Rigging Really Costs
The sticker on the sign is not the bill. Displayit’s current pricing table puts hanging sign fabrication between roughly $2,800 for a 10 ft circle and $6,300 for a 20 ft square. Rigging labor adds roughly $400 to $1,800 depending on size (Displayit, 2026).
What the rigging invoice actually contains
Then the labor rules bend the number again. GES, one of the largest show contractors, documents the billing structure. Hanging sign dismantle bills at half the install time in most cities, and rigging and truss teardown bill by crew time in your booth. A four-hour minimum applies in most cases, and labor that was not pre-ordered can bill at higher hourly or overtime rates (GES, 2026). Estimates for the same sign vary across sources because billing structures differ: one publishes sign-plus-rigging ranges, another counts one-hour lift minimums, a third counts crew time by the hour. Treat any single number as a floor, not a quote.
In union cities such as Chicago and New York, the same work routes through union crews under rules that change by city, facility, show, and local (GES, 2026). The premium varies and no published table covers it, so budget it as a range and get it in writing from your contractor early.
Deadlines, Approvals, and the Point of No Return
Sign fabrication needs roughly 6 to 8 weeks, and rigging approval deadlines at the venue typically land 30 to 45 days before the show opens (Displayit, 2026). The rigging deadline is the hard wall in this sequence.
The rigging application deadline
30 to 45 days before the show
Missing it means your overhead sign never leaves the ground, because each venue sets and enforces its own cutoff.
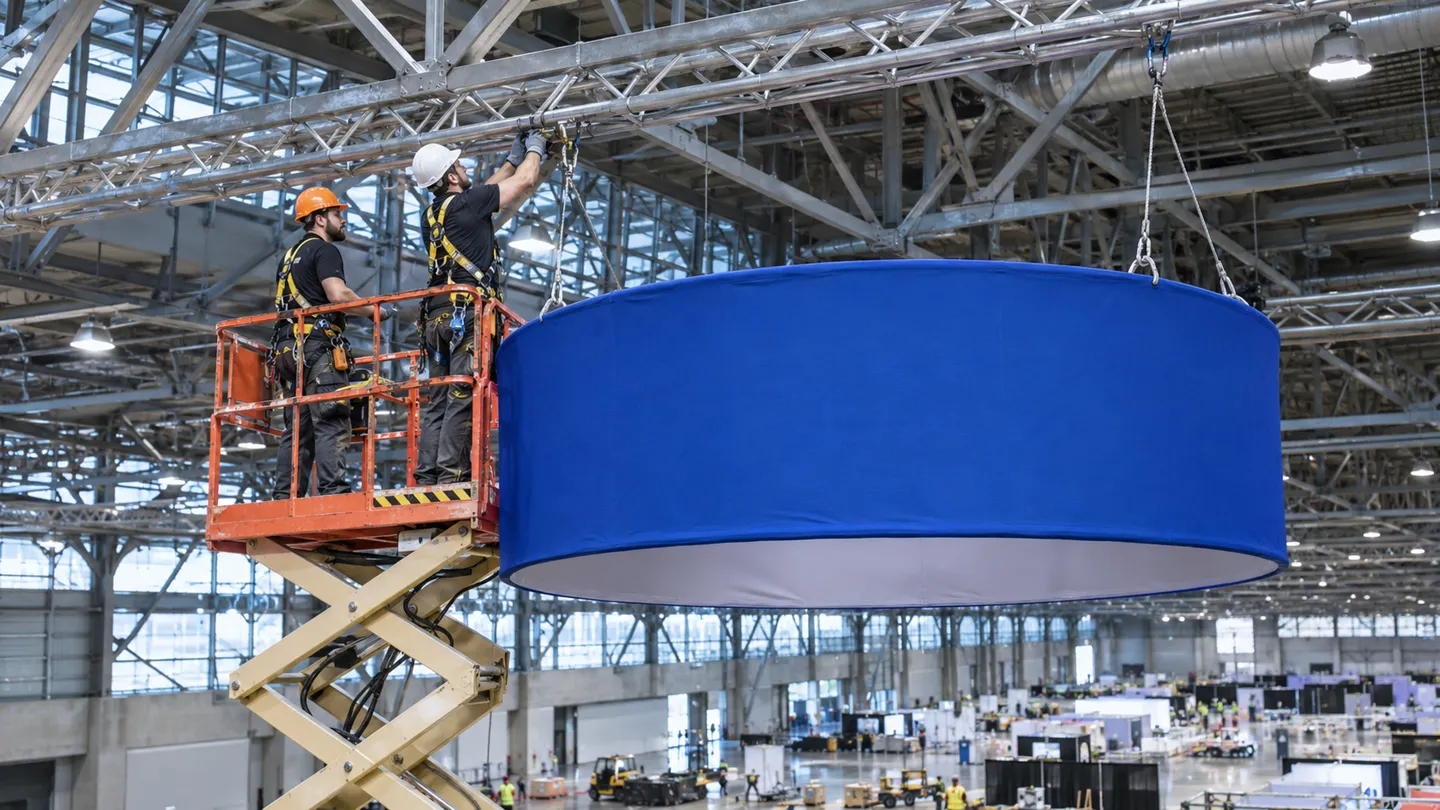
You also cannot hang it yourself. Overhead work is done by the contractor’s licensed rigging crews, and larger or heavier pieces can require engineer-stamped drawings submitted with the application. Exhibitors who ask about rigging two weeks out discover the application window closed a month before, and the sign ships home unhung. Order the sign and file the rigging paperwork as one synchronized step, not two errands.
A deadline this unforgiving is exactly why overhead signage belongs on one contract with one timeline.
Plan your rigging timelineOne System, One Timeline: Planning Signage Into Your Booth Build
The failure patterns above share one root: signage ordered as isolated purchases, each on its own timeline, each with its own responsible party. Planning the whole visual system on one reversed timeline removes most of the seams where those failures live.
The Reverse Timeline From Rigging Deadline
Start from the venue’s rigging cutoff and work backward:
The reverse timeline from the rigging cutoff
- 1
Show minus 8+ weeks
Freeze booth design and order the hanging sign
- 2
Show minus 30-45 days
File the rigging application with the GSC, drawings attached
- 3
Show minus 2-3 weeks
Production and pre-build of walls and graphics, photographed for approval
- 4
Show minus 1 week
Ship or stage local delivery
- 5
Show minus 1 day
Install: the hanging sign goes up first
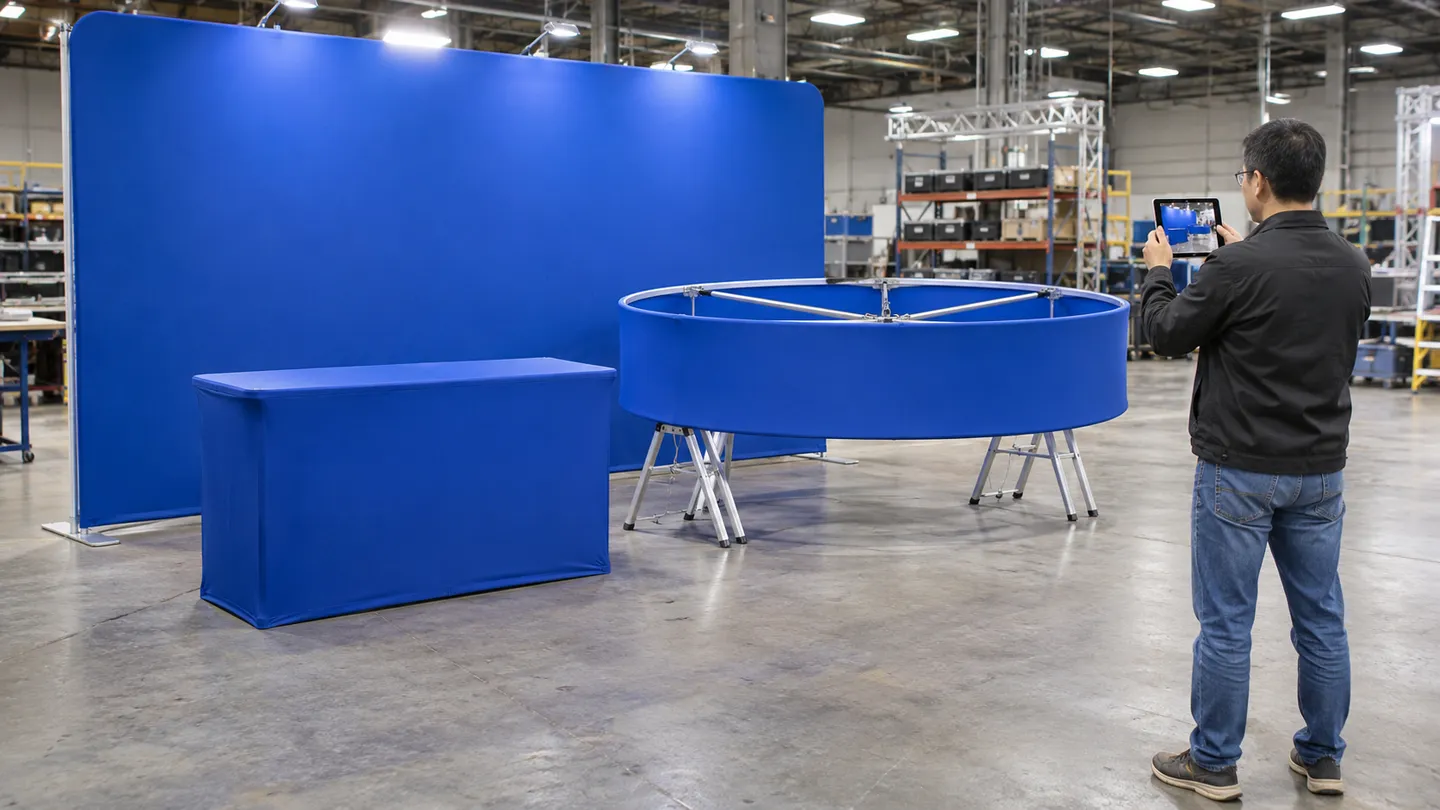
Two anchor points matter more than the rest. Design has to freeze before rigging drawings go in, because a hanging sign revision after the application means a second approval cycle you may not have time for. And the pre-build step is your only chance to check every graphic against the design while changes are still cheap. The builder assembles the booth at roughly 80 to 90 percent completion and photographs it.
Who Handles What
| Party | Owns | Where seams appear |
|---|---|---|
| You, the exhibitor | Deadlines, budget, approvals, brand accuracy | Chasing three vendors on three timelines |
| General service contractor | Ceiling access, rigging crew, labor billing, floor rules | Your sign sits finished but unapproved paperwork blocks the hang |
| Booth builder | Fabrication, graphics, install coordination, storage | Signage ordered elsewhere arrives with no install plan |
Split sourcing puts you inside every one of those seams. When the hanging sign, the backwall, and the install crew come from three vendors, you own the coordination between them. That means matching rigging paperwork to the sign’s weight specs, matching delivery windows to install schedules, and absorbing every delay between vendors. A single build contract that covers production, graphics, rigging orders, and install collapses those seams back into one responsible party.
Before you sign with any supplier
- Rigging deadlines and application requirements confirmed in writing
- Production and delivery dates backward-planned from the rigging cutoff
- Pre-build photo approval included in the contract
- A named person responsible when something breaks on site
- Billing terms that settle before the show closes
When Something Breaks On Site
Damage and errors cluster in the first hours of setup. What can be rescued on site is almost entirely graphic-layer work: a scratched panel, a misprinted banner, a last-minute headline change. Builders with their own print shops reprint and replace same day; crews standing by can swap a graphic in an hour. What cannot be rescued is structural: a broken frame or an unhung sign has no same-day fix, which is exactly why the pre-build and the rigging paperwork exist.
Remote exhibitors carry extra risk here. If you are flying in from Frankfurt or Seoul, you will not walk the factory before the show, so the pre-build photograph is your inspection. Make it contractual, not a courtesy: what the photos show is what opens on day one.
Rereading Your Signage Budget as a Build Decision
Every fact in this article points at one conclusion for anyone planning a serious booth. Past the portable tier, signage is a construction decision with a print order attached, not the other way around.
The evidence stack runs four facts deep. Overhead eligibility depends on booth type and venue approval. Rigging labor bills on structures that make the final number hard to predict from any single quote, with four-hour minimums and dismantle billed at half install time. The rigging deadline is an unforgiving wall 30 to 45 days out. And print failures on large-format work leave the exhibitor holding the loss. Each of those risks lands on whoever owns the coordination. Split that ownership across three vendors and you have inherited all of it.
So route your money by booth size and show frequency, and buy coordination where the risk concentrates. Portable pieces for a 10×10: order online, store them in a tube, and keep the change. An island booth with a hanging sign is a different animal. Put the sign, the walls, the rigging paperwork, and the install into one build contract with one timeline. The fee you pay a builder to coordinate is smaller than the cost of one missed rigging deadline or one unrescued print error. The buy, rent, or custom fork still applies. It just applies at a higher altitude.
There is a billing detail worth demanding in any such contract: everything settled before the show closes. Post-show invoices, particularly for show-organizer charges, are a persistent industry annoyance, and the cleanest contracts close the books on site. That is exactly how our own builds at Aplus Expo run: design, production, graphics, rigging orders, install, and on-site support, all under one Las Vegas roof. Every bill, including show-organizer charges, gets settled before the show closes. See how a single booth contract handles billing and on-site support, then ask us for a quote and a reverse timeline built around your show dates.
For a 10×10 inline booth, none of this changes your life: buy good portable pieces, respect the 8 ft wall, and make your headline readable from across the aisle. The system thinking earns its keep exactly where the ceiling gets involved.
Turn your signage plan into one build contract
Design, production, graphics, rigging orders, install, and on-site support under one Las Vegas roof. Tell us your show dates and every deadline gets reverse-planned from the rigging cutoff.
Get a booth quoteReferences
- Pannier Graphics. “Letter Height Visibility Chart: Understanding Maximum Sign Readability.” 2026. https://www.panniergraphics.com/blog/letter-height-visibility-chart-for-outdoor-sign-readability
- r/Entrepreneur. “Best Place to Print Trade Show Banners and Materials?” Reddit, 2016. https://www.reddit.com/r/Entrepreneur/comments/3kq367/best_place_to_print_trade_show_bannersmaterials/
 English
 Spanish
 German
 French
 Italian
 Korean
 Chinese