
A booth’s graphics are the first thing an attendee sees and the last thing most exhibitors think through. Before you order another banner or approve another quote, it helps to see the whole field: what exhibit graphics actually do, what they’re printed on, and why the same artwork can cost you pennies or a fortune depending on how you buy it.
What Trade Show Exhibit Graphics Are — and the Three-Second Job They Do
“Trade show exhibit graphics” sounds like a shopping category. It isn’t one. It’s every visual surface in your booth that carries brand information: the back wall, banner stands, fabric panels, printed walls and counters, lightboxes, floor decals, even the wrap on your demo table. A retractable banner and a backlit custom wall are both exhibit graphics, and they sit at opposite ends of a spectrum you’ll understand by the end of this guide.
Two quick clarifications before we go deeper. First, when people search “trade show graphic design,” part of that traffic is about the graphic design profession: career questions, portfolio advice. That’s a different conversation. We’re talking about the work product: designing visuals for a booth. Second, if you’re wondering whether AI templates make this a solved problem: they cover the easy half (standard-size banners, table covers, repeatable layouts). The other half, where graphics must work around structure, lighting, and foot traffic, is where the real decisions live.
Here’s the mechanism everything else hangs on. An attendee walking the aisle gives your booth about three seconds before deciding to stop or keep moving; it’s a widely cited figure in the exhibit industry. Your graphics are the only salesperson working before a human one says a word. That’s why every rule you’ll read below (short messages, big type, logo above head height) isn’t taste. It’s derived from one constraint: your visuals must be readable from ten feet away, at walking speed, in a hall full of competing noise.
That single constraint is also why “just make it pretty” is the wrong frame. The useful question isn’t what the graphics look like. It’s how deeply they’re built into your booth, because that choice, made once, decides what they cost you every time you exhibit.
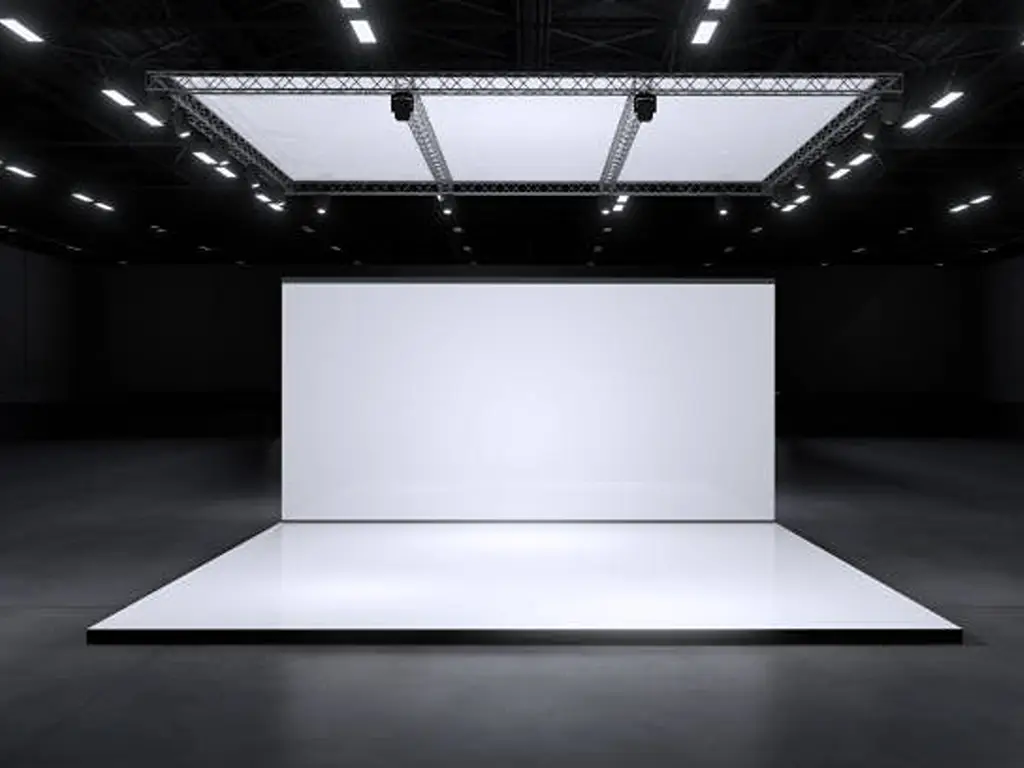
Trade Show Booth Graphics: Carriers, Materials, and Where Each Earns Its Keep
If you’re at the shallow end of the spectrum, you’re buying a carrier: the structure the graphics live on. The common ones are easy to tell apart.
A retractable banner is a roll of vinyl in a spring-loaded case. It’s cheap, one person sets it up in minutes, and it tops out around three feet wide. A pop-up display unfolds into a curved or flat frame that carries tensioned fabric panels, giving you a wider backwall that packs into wheeled cases. A tension fabric system stretches dye-sublimated fabric over aluminum frames for a seamless, wrinkle-free look with no visible hardware. Tabletop units do the same jobs at counter height, and modular backwall systems scale from 10×10 to island sizes. What they share: the graphics are printed on standard-size panels that you (or the manufacturer) swap out.
The material decision matters more than the hardware, because it’s where the money lives. Here’s the honest comparison:
Exhibit Graphic Media: What You’re Really Choosing
| Media | Best for | Watch out for |
|---|---|---|
| Fabric (dye-sublimated stretch or tension) | Exhibitors who attend year after year and care about color consistency | Wrinkles rarely; washable and reusable; costs more up front; can stain between shows |
| Pressure-sensitive vinyl | One-time or low-frequency shows, big surface areas on a budget, glossy brand looks | Cheapest large-area option; once creased it stays creased; less reusable |
| Rigid panels (PVC, foam board, acrylic) | 3D letters, wall-mounted graphics, structural looks | Dimensional and premium; bulky to ship and store; rigid means no folding |
| Backlit film | Lightboxes and glowing brand walls | Dramatic presence in dark halls; needs a lightbox structure; colors read differently when lit |
| Repositionable media (low-tack film) | Direct application to existing walls and counters | Applied without bubbles, removable for reuse; surface must be clean and painted |
Now the ruling, because the two loudest voices in this debate contradict each other. Fabric vendors argue fabric is the better long-term investment: premium look, color-accurate, reusable (Displayit, 2025). Print-on-demand suppliers counter that vinyl is significantly cheaper per square foot, especially on large surfaces (Printleaf, 2026). Both are telling the truth, and both are selling something.
The decision rule has nothing to do with which material is “better.” It’s frequency.
Exhibit once (no sequel)
Vinyl is the rational choice: a disposable that costs the least for one event. Folded into a case for eleven months, it comes out creased (Displayit, 2025).
Annual program
Fabric survives storage and travels flat; next year’s message is a reprint at a fraction of the structure cost.
Lightbox or dark hall
Backlit film is a category of its own; check brand colors under venue lighting, not office light.
One more truth to keep the map complete: printed graphics aren’t the only way to finish a booth surface. Paint and laminate routes exist for custom structures. Graphics win when you want to change the message between shows without repainting the wall, which brings us to the central decision of this guide.
Four Ways to Buy Exhibit Graphics: How Deep Should Graphics Sit in Your Booth?
Here is the framework the shopping pages never show you. Exhibit graphics are sold as four distinct products, each one a deeper integration of graphics into your booth, and each level changes what you own, what you can change, and what you pay next time.
The Four Ways to Buy Exhibit Graphics
| Level | What you get | Can you change it? | Cost shape | When it fails |
|---|---|---|---|---|
| 1. Standalone graphics (retractable banners, tabletop units) | A printed item you buy and set up | Reprint the whole item every time | Pay per item, every show | When your booth needs a cohesive story across more than one or two items |
| 2. Portable kits (pop-ups, tension fabric systems) | A frame system plus replaceable standard-size panels | Yes: swap panels, same frame | Moderate hardware cost, panels reprint cheaply | When you outgrow the size limits and standard layouts |
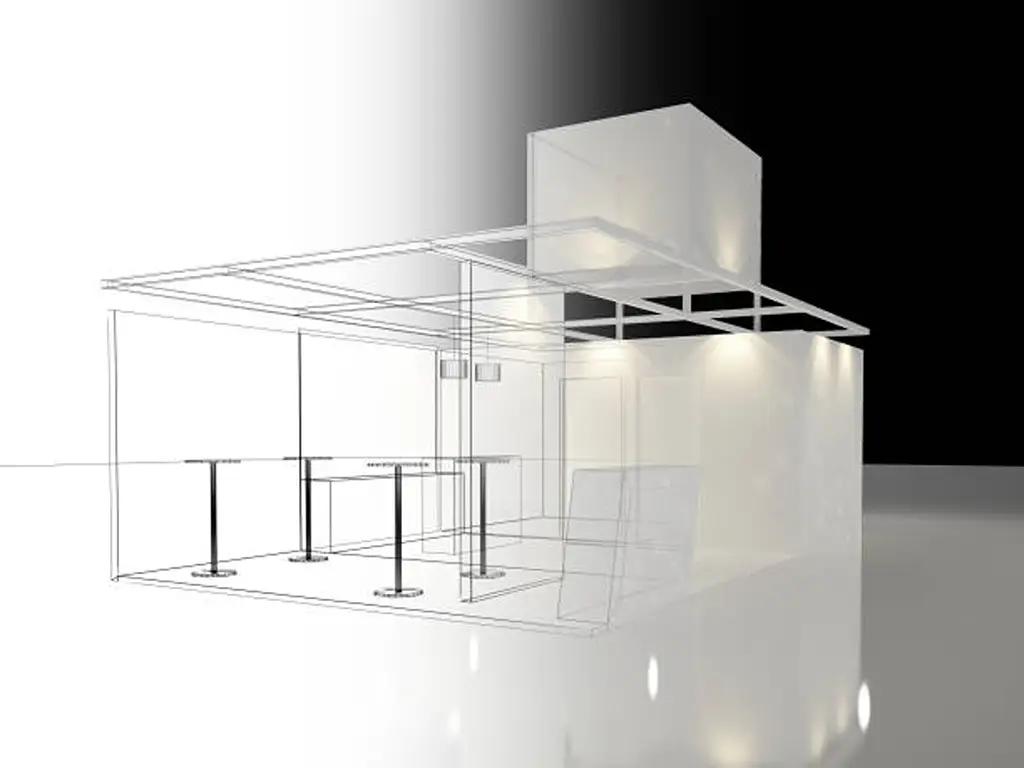
| 3. Custom booth graphics (printed to your elevations, working around millwork and structure) | Panel and wall graphics engineered for your specific booth | Yes, but specs and interfaces get more demanding | Design and production per project; reprints need your source files | When you have multiple vendors and nobody owns the overall look |
| 4. Graphics as a service (designed, produced, trial-built, installed and updated as part of your booth program) | Refresh graphics without touching the structure | Yes, the face changes and the frame stays | One-time design amortized, marginal cost per show drops | When you exhibit once with no plan to return |
Level 1 — Standalone graphics: when one printed piece is enough
Retractable banners, table covers, and tabletop displays are how most first-time exhibitors start. You buy an item, set it up, and it does a small job well. The trade-off: every message change is a full reprint, and a booth made of three unrelated items rarely looks like one brand. Fine for a table at a regional show; thin coverage for anything bigger.
Level 2 — Portable kits: the moment graphics become changeable
Pop-up and tension fabric systems introduce something the first level can’t give you: the frame is yours, the graphics are replaceable panels. Run a new campaign, swap the panels. Exhibit again, and the next set of panels costs a fraction of the original kit. This is the natural home for small teams who exhibit once or twice a year and travel. The ceiling is real, though: standard-size panels mean your story has to fit the system’s geometry.
Level 3 — Custom booth graphics: the language changes to elevations
When graphics are engineered for a custom booth (printed panels that wrap millwork, lightboxes that glow through brand walls), you’re working from elevations (flattened 2D views of each booth surface) and approving art flats (the actual production files at final size). This is where specifications become your responsibility: resolution, bleed, color proofs. It’s also where the classic failure enters: if the structure comes from one vendor and the graphics from another, nobody owns the interface, and the result reads as assembled rather than designed.
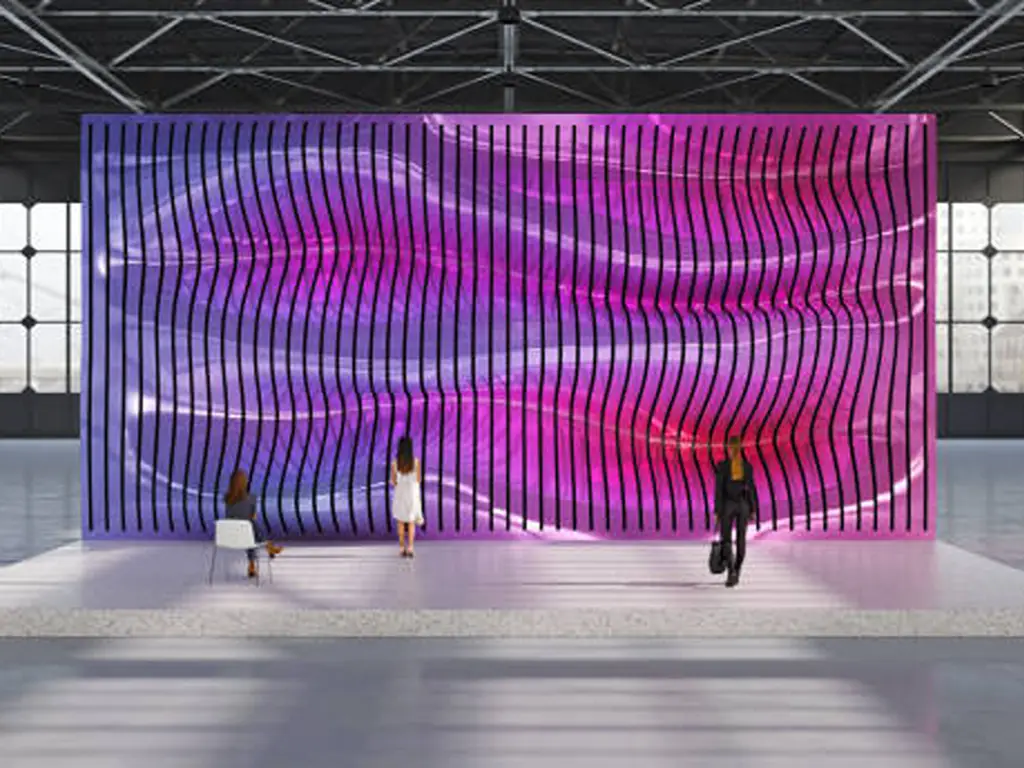
Level 4 — Graphics as a service: treating the surface as an asset
At the deepest level, graphics stop being a procurement event and become a maintained layer of your exhibit program: designed with the structure, trial-built with it, photographed for sign-off, stored with it, and reprinted for the next show while the frame stays in the warehouse. The design cost is paid once and amortized; each subsequent show’s marginal graphics cost drops. Before you assume this is overkill, consider where the industry is pointing.
Three currents are pushing exhibitors toward Level 4. First, the refresh conversation: when exhibit experts advise on updating a tired booth without a capital purchase, their highest-leverage, lowest-cost move is consistently the graphic panels themselves (Pure Exhibits, 2026; Mobile Lightbox, 2026); the booth’s “face” is its cheapest thing to change. Second, LED walls and video are competing for exhibit budgets, which forces static graphics to earn their place on cost-per-impression rather than novelty. Third, sustainability pressure favors reprintable media over throwaway structure. None of this makes Level 4 right for everyone: if you exhibit once with no sequel planned, Levels 1–2 are the honest answer, and no one should upsell you past them.
For exhibitors who return year after year, the booth’s graphics are the lowest-cost, highest-impact refresh you can buy: update the face, keep the frame.
Graphics Specs That Survive the Show Floor: Resolution, Files, and Choosing Who Prints
Once you’re buying custom graphics (Level 3 or 4), the specifications become yours to manage. This is where the advice you’ll find online actively contradicts itself, so let’s settle it.
The resolution truth: size the image for the viewing distance, not for a magic number
Ask five sources what DPI you need and you’ll get five answers: 150 is fine, 72–150 works, 300 for quality, “don’t skimp.” All of them are right and all of them are wrong, because resolution only matters relative to viewing distance. An image that looks sharp at ten feet looks soft at two feet, and the printing industry prices this in. For large-format work, roughly 200–300 DPI serves close viewing under six feet, while artwork meant to be seen from across a hall can be perfectly acceptable at around 100 DPI (Poster Print Shop, 2025). That’s why a 10-foot backwall and a counter graphic for the same booth legitimately need different files, and why “my banner is 150 DPI” is the wrong sentence. The right sentence is: “my audience stands ten feet away, what does my file need?”
Two practical rules ride on this. Text and logos must be vector artwork (scalable outlines), never screen grabs — a blurry logo is a printer’s daily complaint, not a mystery. Photos should be sized to the final printed dimension at the target resolution, so the stock image that looked fine on your laptop is probably too small for a wall.
The file checklist to run before anything goes to print
Each item exists because someone learned the hard way. Exhibit designers regularly watch exhibitors unknowingly block half their back wall with a couch (GES). A graphic can only sell if nothing stands in front of it. And resolution mistakes are the industry’s most common “honest” failure, because a file can look perfect on screen and blurry on a ten-foot wall (GES). The proofing step is your last cheap correction; after production, fixes stop being cheap.
Choosing who prints: the supplier matrix
For the same artwork, four kinds of suppliers will quote you, and they’re not interchangeable.
Exhibit Graphics Suppliers: Which Channel for Your Situation
| Scenario | Channel that fits | Its strength | What to confirm before ordering |
|---|---|---|---|
| One-time banner for a rented table | Online print-on-demand (Vistaprint, Signs.com) | Lowest price, fast, easy templates | File specs, shipping date, and whether delivery lands before the show |
| Existing portable kit needs new panels | The kit manufacturer or its graphics service | Exact size match for the frame system | Reprint turnaround; color matching across generations of panels |
| Custom booth with structure from one vendor, graphics from another | Local sign shop or franchise with large-format capability | Flexible, can match on-site needs | They see only the graphics; who owns the interface with your structure builder |
| Annual booth program, graphics matter to your brand | Full-service exhibit contractor who designs, prints and installs | One accountable owner from elevations to show floor | Trial build and photo sign-off, source file ownership, on-site reprint ability |
The pattern in that matrix is the same one from the four levels: depth of integration buys you accountability. The exhibitor who buys structure and graphics from separate vendors has two suppliers to coordinate and no one to blame. The exhibitor who buys them as one package has one throat to choke, and one partner whose reputation rides on the booth looking like a single designed thing. That’s the bridge from Level 3 to Level 4, and it’s a deliberate choice, not an accident of procurement.
What a Full-Service Exhibit Graphics Partner Should Give You
If you decide the full-service route fits your program, you need a checklist, not adjectives, when you compare partners. A graphics-ready exhibit partner should be able to show you:
Notice what’s absent: “award-winning designers,” “premium quality.” Those are claims you can’t verify from a pitch. Response times, trial builds, source files, and same-day reprint are terms you can put in the contract. If a partner hesitates on any of them, you’ve learned something more useful than any brochure would tell you.
Honest boundary: this level of service assumes a booth program worth managing. A one-time 10×10 at a local show doesn’t need it; that’s what Level 1 and Level 2 exist for. The full-service conversation starts when you can name next year’s show before this year’s ends.
Take the checklist with you. A partner who hesitates on trial builds, source files, or same-day reprints is telling you something before you sign.
Get a free design & itemized quoteWhen Booth Graphics Go Wrong: Proofing, Trial Builds, and Show-Day Fixes
Every failure below has been lived by a real exhibitor, and every one of them was preventable in the process — not at the show.
The incoherent booth. Exhibitors who assemble a booth from different vendors at the last minute rarely get a cohesive result; it reads as pieces, not a brand (Signs.com, 2025, citing exhibitor accounts). Prevention: make one party responsible for the overall look before anything is ordered.
The wall of text. “Don’t put your whole company history and catalog on the walls” is the most repeated piece of exhibitor advice for a reason (Signs.com, 2025). Prevention: the three-second rule from earlier: if a headline doesn’t survive a glance from ten feet, it doesn’t belong on a wall.
The blurry wall. Files that look perfect on a monitor come back soft on a ten-foot print, the industry’s most common honest mistake (GES). Prevention: run the viewing-distance math from the previous section before approving files.
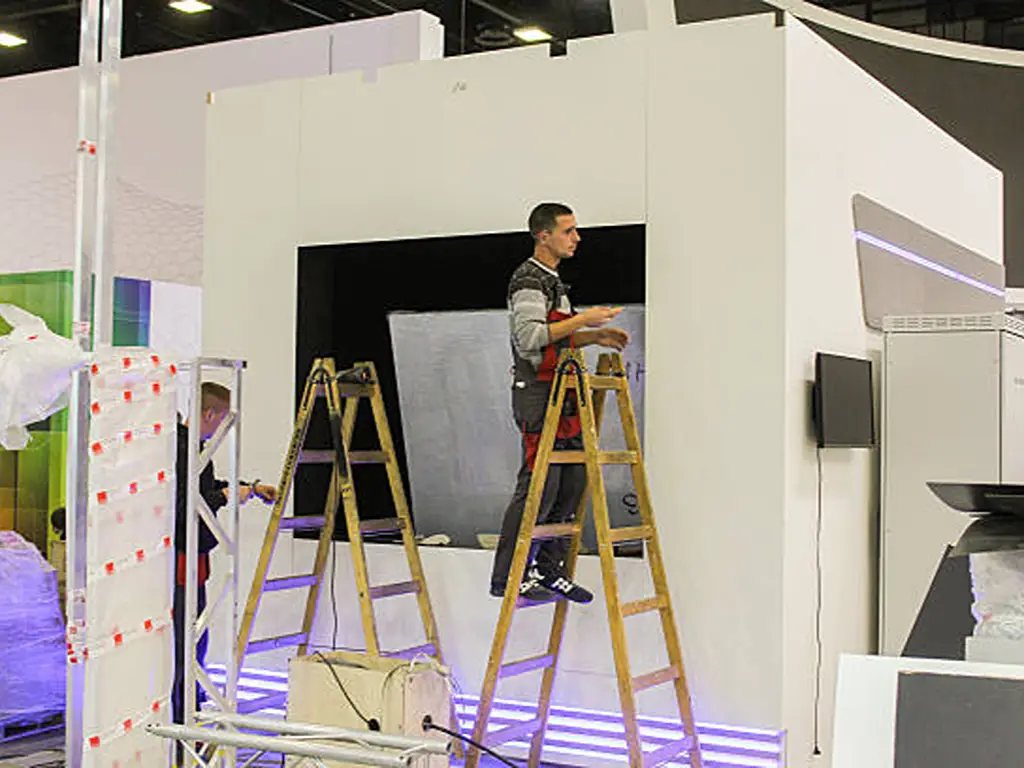
The blocked graphic and the shadow. Furniture placed in front of a back wall, or overhead elements casting shadows, are routinely discovered on show day (GES). Prevention: review a photo of the trial build with the furniture plan and lighting in place, which is exactly why the trial-build sign-off step exists.
The day-one change. Product names change, staff photos get swapped, a graphic arrives creased or misprinted. Prevention: confirm your partner’s on-site capacity before the show: a shop that can reprint the same day turns a crisis into a coffee break, and graphics on repositionable media can be corrected without damaging the surface beneath.
The color that isn’t yours. Brand colors shift under venue lighting, and a digital proof can’t show you that. Prevention: see a physical sample in conditions close to the show floor, or ask what the colors do when lit.
None of these are exotic. They’re the normal failure modes of graphics bought without a process — which is why the process itself, however unglamorous, is what protects your money.
The pattern behind the failures
Proofing, trial builds, photo sign-offs, and source files you own. Every failure above was preventable in the process, not at the show.
The Budget Question Nobody Asks: Treating Graphics as an Asset, Not a Line Item
Here’s the question finance won’t ask and exhibitors rarely do: what does your booth’s face cost you across five shows, not this one? Every budget cycle, graphics get approved as an expense line: print this, print that, while the structure gets the capital treatment. That’s backwards. The structure is the expensive, durable thing you keep. The graphics are the cheap thing you replace, and the way you buy them determines whether each replacement is a small, planned cost or a large, panicked one.
Follow the facts already on the table. The face is the cheapest part of the booth to change (the refresh consensus from earlier). Changeability requires media that survives and panels you can swap. And reprinting cheaply requires your source files to exist and your structure to stay put.
One paid design. The concept, elevations and files settle once.
A frame in storage. The structure lives in the warehouse between shows.
Graphics reprint cheap. Next season’s message is a print run, not a rebuild.
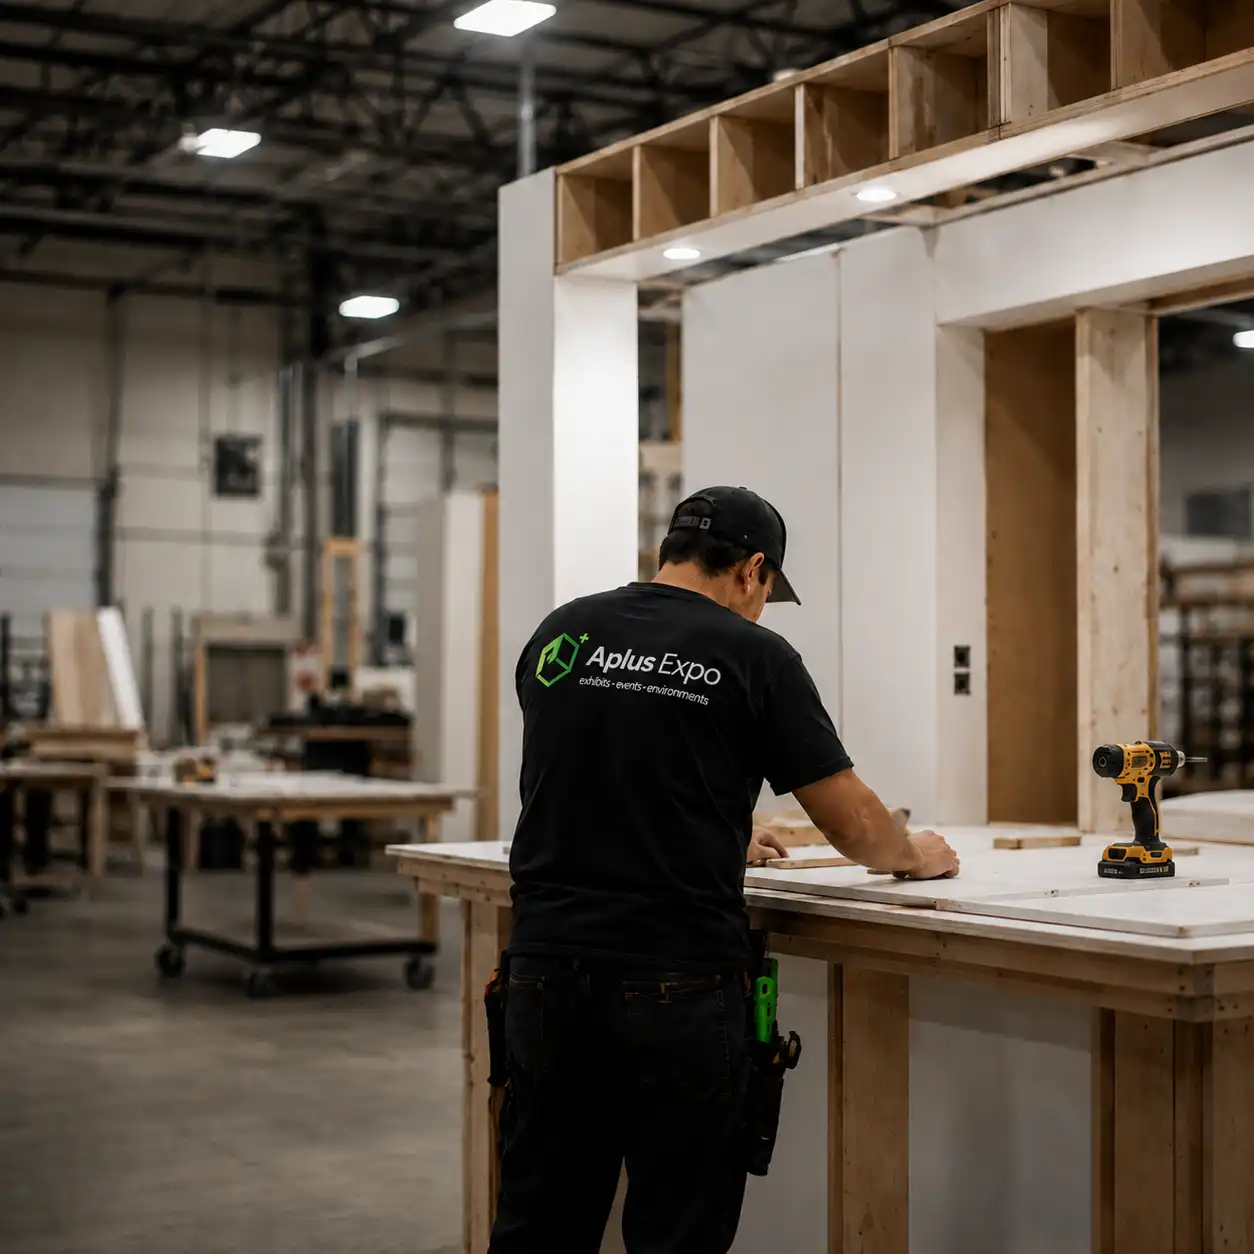
That’s the model we run at Aplus Expo: our custom booth program builds the structure and the graphics as one system, in our own factory and our own print shop, and we build to your design rather than to a parts catalog, so the finishes are limited by the concept, not by our inventory (custom booth program; in-house graphics and printing shop). When the show ends, we dismantle and store the kit, and the graphics (printed on repositionable media) come off clean and hold for the next event. Year two, you’re not buying a booth; you’re refreshing a face (custom booth program). That’s the difference between a line item and an asset.
The boundary matters as much as the model. If you exhibit once, or your show calendar doesn’t exist past this quarter, the asset logic doesn’t apply: buy Level 1 or Level 2, spend the minimum, and ignore every word above about amortization. The asset model only pays off for programs that return. For those that do, the cheapest upgrade you’ll ever buy is the next set of graphics, provided you kept the frame and the files.
If you want to see what your booth’s graphics would cost as an asset rather than a line item, request a free design and itemized estimate, no obligation.
Price your exhibit graphics as one accountable system
Free 3D concept plus an itemized quote within 48 hours, covering design, printing, trial build and install under one roof. No hidden bills.
Request my free quoteReferences
- Printleaf. “Vinyl Banners vs Fabric Banners: Which Is Better for Your Trade Show Booth?” (2026) https://blog.printleaf.com/vinyl-banners-vs-fabric-banners-which-is-better-for-your-trade-show-booth/
- Signs.com. “Reddit’s Take on the Biggest Trade Show Booth Mistakes.” (2025) https://www.signs.com/blog/mistakes-companies-make-with-trade-show-booths/
- Poster Print Shop. “The Big Picture: Optimal Resolutions for Large Format Printing.” (2025) https://posterprintshop.com/guide/what-is-the-best-resolution-for-large-format-printing/
- Mobile Lightbox. “How to Update Your Trade Show Booth.” (2026) https://mobilelightbox.us/how-to-update-your-trade-show-booth-a-strategic-guide-to-high-impact-refreshes/
- Aplus Expo. “Custom Trade Show Booths.” https://www.aplusexpo.com/service/custom-booth-8/
- Aplus Expo. “Trade Show Graphics Printing & Displays.” https://www.aplusexpo.com/service/graphics-printing-displays/
- Aplus Expo. “Contact.” https://www.aplusexpo.com/contact/
- Aplus Expo. “Home.” https://www.aplusexpo.com/

 English
  Spanish
  German
  French
  Italian
  Korean
  Chinese