
Accessibility usually enters the booth conversation late, after the layout is approved, when someone asks “does this need a ramp?” By then most answers are already set in wood, laminate, and floor space. This article runs the other way: who actually owes booth accessibility, what the numbers are when you check a floor plan, and which decisions are still free while you control them.
Trade Show Booth Accessibility: Start With Who Owns It
First, a quick sorting, because this topic is searched by three different people. If you are an attendee asking whether a show or venue is wheelchair-friendly, the answers live on the organizer’s and venue’s accessibility pages, not in booth design. If you are asking about website accessibility, that is the WCAG conversation. This article is for the third reader: the exhibitor who signs the space contract and submits the floor plan, and now wants to know what booth accessibility actually requires of them.
The legal frame is real but thinner than most checklists imply. Title III of the Americans with Disabilities Act covers businesses open to the public, called public accommodations, and convention-center exhibit spaces are treated as falling within that frame (ADA.gov, Title III overview). The idea that exhibits are “temporary structures” and therefore exempt is a misconception, not an escape hatch: the Department of Justice can pursue violations through complaints, with civil-penalty maximums adjusted for inflation and published on ada.gov (ExhibitorOnline, “Accessible by Design”).
You will not find a set of booth-specific regulations. That gap is filled by two quieter instruments. First, the show: exhibitor manuals and booth-space contracts routinely state that the exhibitor is solely responsible for the compliance of its own display (ExhibitorOnline, “Is Your Booth ADA Compliant?”). Second, enforcement is complaint-driven and rare on show floors, so what actually binds you is the contract, the brand, and the attendee experience in the aisle.
BEFORE YOU APPROVE YOUR FLOOR PLAN
Find the clause that assigns ADA responsibility for your booth to you — exhibitor manuals carry it as standard. The show’s contract, not an inspector, is the enforcement you will actually meet.
Now the audience math: more than one in four U.S. adults (28.7 percent) live with some type of disability (CDC, “Disability Impacts All of Us,” 2024). The largest groups are cognitive (13.9 percent) and mobility (12.2 percent), followed by hearing (6.2 percent) and vision (5.5 percent). Most are invisible—so a booth built only for “wheelchair guests” has already missed most of its audience.
One boundary keeps this honest: venue lobbies, restrooms, and the show’s public spaces belong to the venue, and requests for ASL interpretation go to show management first; only when the show does not provide a service does the exhibitor’s obligation begin (ExhibitorOnline, “Accessible by Design”). Your obligation starts at the edge of your own carpet.

The Floor-Plan Check: What the Numbers Actually Say
Here is the confusing part: search “ADA booth” and you will find 36 inches, 28 inches, and 120 centimeters, all presented as the one true number. They are all real; they come from different reference frames. Thirty-six inches is the U.S. exhibit-industry practice benchmarked to the ADA Standards, with a 3-foot-square corner zone for a 90-degree turn. Twenty-eight inches is the absolute minimum-clearance figure from contractor guidelines. One hundred twenty centimeters is European practice. The only frame that binds your booth is the exhibitor manual and contract of the show you are entering. Everything below is the U.S. practice baseline, as compiled by the exhibit industry (ExhibitorOnline).
| Element | Practice value | What governs / exception | How it usually dies |
|---|---|---|---|
| Clear path & entry | 36 in. minimum; wider opening or second entry preferred | Cramped 10×10 booths still need one unobstructed line; staff assist as fallback | Banner stands or sample cases parked in the 36-in. line; single narrow doorway bottleneck |
| Turning space | 3×3-ft corner zone for a 90° turn; 60-in. circle for full rotation where space allows | Smaller booths: one turn point beats none | Literature rack or plant placed inside the turn zone |
| Raised floor & ramp | 1:12 slope (12 in. of run per inch of rise); 36-in. minimum width; handrails both sides at 34–38 in. | Ramp must not extend into the show aisle; consider flush or no platform | 4-in. platform with no ramp at all; ramp added as an afterthought with no room |
| Counter & tables | Bar-height 42-in. surfaces need one 30-in. table with a removable chair, or a lower 34-in. section with knee space | Built-in low section beats an add-on table | Every surface drawn at standing height |
| Reach band | Interactive elements, touchscreens, literature 15–48 in. above the floor | Screens tiltable for seated users | Demo units and giveaways mounted out of reach |
| Carpet & cables | Pile height ½ in. max, firmly attached; flush cable protectors; beveled transitions | Double-padding plush carpet is a documented scooter trap | Deep pile + double padding; unprotected cables crossing paths |
| Captions & audio | Captions on by default for video; transcripts or captioned recordings for live presentations | Show floor noise defeats audio anyway | Audio that assumes everyone can hear it |
| Graphics & signage | High contrast, matte surfaces, type sized for viewing distance, generous touch targets | Signage 3 in. letter height minimum is a common guideline | Glossy laminate washing out contrast; tiny decorative type |
| Two-level booths | Elevator, or comparable amenities on both levels | Double-deck booths face the hardest requirements | Upper deck hospitality with nothing equivalent below |
Circulation: what 36 inches really buys you
Thirty-six inches of clear path lets a wheelchair or mobility scooter move without a three-point turn; 60 inches of clear circle allows a full rotation. The gap between the two is where booths actually fail: a path exists, but every corner is a dead end because there is no turning space. On small booths, plan one deliberate turn point, a 3-foot-square zone kept empty at a corner, rather than pretending the whole booth is navigable.
Heights: counters, reach bands, and the bar-height trap
The standard reception counter is about 42 inches, drawn at standing height because the designer was standing. A seated visitor faces a wall of laminate at chin level. The fix is structural, not decorative: one 30-inch table with a chair that can be removed, or better, a section of counter dropped to roughly 34 inches with clear knee space beneath, drawn into the design rather than added beside it (ExhibitorOnline). The same logic runs through everything a visitor is meant to touch: interactive elements, touchscreens, sample bins, and literature belong in the 15-to-48-inch band above the floor. Above that band they are out of reach for a seated visitor; below it, they demand kneeling on a concrete floor at the end of day three.
Floors and senses: carpet, cables, captions, and contrast
Flooring is an accessibility decision hiding as an aesthetic one. Deep-pile carpet is genuinely hard to roll across and tiring to walk on; industry practice caps pile at half an inch, firmly attached, and the exhibit press has documented a scooter sinking into double-padded plush carpet (ExhibitorOnline). Cable protectors should lie flush and beveled; a quarter-inch lip catches a caster and a toe. Legibility is accessibility: high-contrast, matte graphics with type sized for the distance it is read from serve a low-vision visitor and the passerby glancing from two aisles away equally. And captions on video should be on by default: show floors are loud enough that most visitors cannot hear the audio regardless of hearing ability.
Why Accessibility Has to Be in the First Layout
Every dimension above is close to free when it is decided while the layout is still on paper, and expensive or impossible once fabrication starts. A counter cannot be lowered after millwork. A ramp cannot be added to a platform with no floor space left for it. The exhibit industry’s own practitioners say the subject tends to surface “after the layout has been approved,” usually as a question about whether a ramp is required. That timing is the whole problem.
The ramp math that only fits in the first layout
Here is the number to remember: a compliant ramp runs 12 inches for every inch of rise. An 8-inch platform needs 8 feet of ramp before you add any turning space at either end.
THE 1:12 RAMP RULE
4-in. platform
4 ft
6-in. platform
6 ft
12-in. platform
12 ft
of ramp — and every foot of run needs turning space at both ends. This space only exists in the first layout.
A four-inch raised floor is a common way to add cable runs and a sense of territory. At 1:12, that decision quietly consumes four feet of your booth’s depth. On a 20×20 island it is a manageable layout decision; in an approved drawing it has no home. That is why platform height belongs in the earliest sketches: the choice is not “do we need a ramp” but “what do we want this booth’s floor to be.” Raised, with a ramp drawn in? Or flush, so no ramp is needed at all?
Free on paper, expensive in millwork
Three decisions illustrate the pattern. The counter: choosing a two-level front (42-inch bar plus a 34-inch section with knee space) is a millwork decision, cheap in the shop drawing and a rebuild in the shop. The entry: one narrow opening in a closed perimeter creates a bottleneck that two people talking can seal completely; a wider opening or a second entry is a wall-panel decision made once. The reach band: where demo tables, product shelves, and screens land vertically is decided by the cabinet drawings, not by a late request. And because a drawing is only as good as its first physical build, the industry answer to “will it actually work on the floor” is the factory trial build: the structure fully stood up, graphics on the walls, before it ships. That pre-build is the moment a floor plan’s promises become checkable objects. It belongs in your procurement, not just in your builder’s brochure.
When it genuinely doesn’t fit
Boundaries matter as much as numbers. A 10×10 inline booth cannot host a 60-inch turning circle and a demo area; cramming the full checklist in serves nobody. The practice answer is layering: flush flooring instead of a platform, an open entry facing the aisle, one clear turn point, one lower counter section, and staff who can retrieve anything stored out of reach—industry guidance explicitly permits staff assistance where the footprint cannot do more (ExhibitorOnline). What is never acceptable is deciding nothing: the booth that fails is not the one that chose flush floors, it is the one where accessibility was never a decision at all. The trend is moving the same way: European public procurement already asks about accessibility in tenders, and large U.S. exhibitors are folding inclusivity into requests for proposal—compliance language is slowly becoming buying language (Trendsetzerei, industry observation).
Buying It Right: What to Require From Your Builder
You may never personally tune a counter height, but you control the one lever that matters: what you require, in writing, from the people who build your booth. The mistake is buying “ADA compliant” as a one-line promise. What you actually want is two processes you can verify.
Process one: accessibility in the first layout. Whoever draws your first concept should answer, on that first drawing, where the ramp or flush floor is, where the low counter section sits, and where the reach-band fixtures live. If accessibility appears for the first time in a revision, you are paying for it twice.
Process two: a trial-build sign-off. Before your booth ships to the show, it should be fully assembled somewhere, platform down, counter heights real, not renderings, and you should see it. That is the only point before opening day where “the floor plan says compliant” becomes “the physical object is compliant.”
Five lines your quote should show
Floor: raised platform with ramp (length stated) or flush floor by design
Counters: heights stated, low section with knee space included
Reach: interactive and display positions within the 15–48-in. band
Flooring: carpet spec and cable-protector plan
AV: captions default-on and adjustable/tiltable screens
Beyond the checklist, ask the quote to name numbers, not categories. “Ramp included” is not a spec; “flush floor, no ramp required” is a spec, and so is “6-ft ramp at 1:12 with handrails.” If your team is exhibiting in the U.S. from Europe, one more paragraph matters: the generous circulation figures you may be used to at home, such as 120-cm routes and 150-cm turning fields under German accessibility practice (DIN 18040-1), are habits, not U.S. venue requirements. A design tuned to them still has to satisfy the American show’s manual (Trendsetzerei, EU practice reference). Name the governing standard in your first email to the builder and let them translate.
Building It In as Standard, Not as an Upgrade
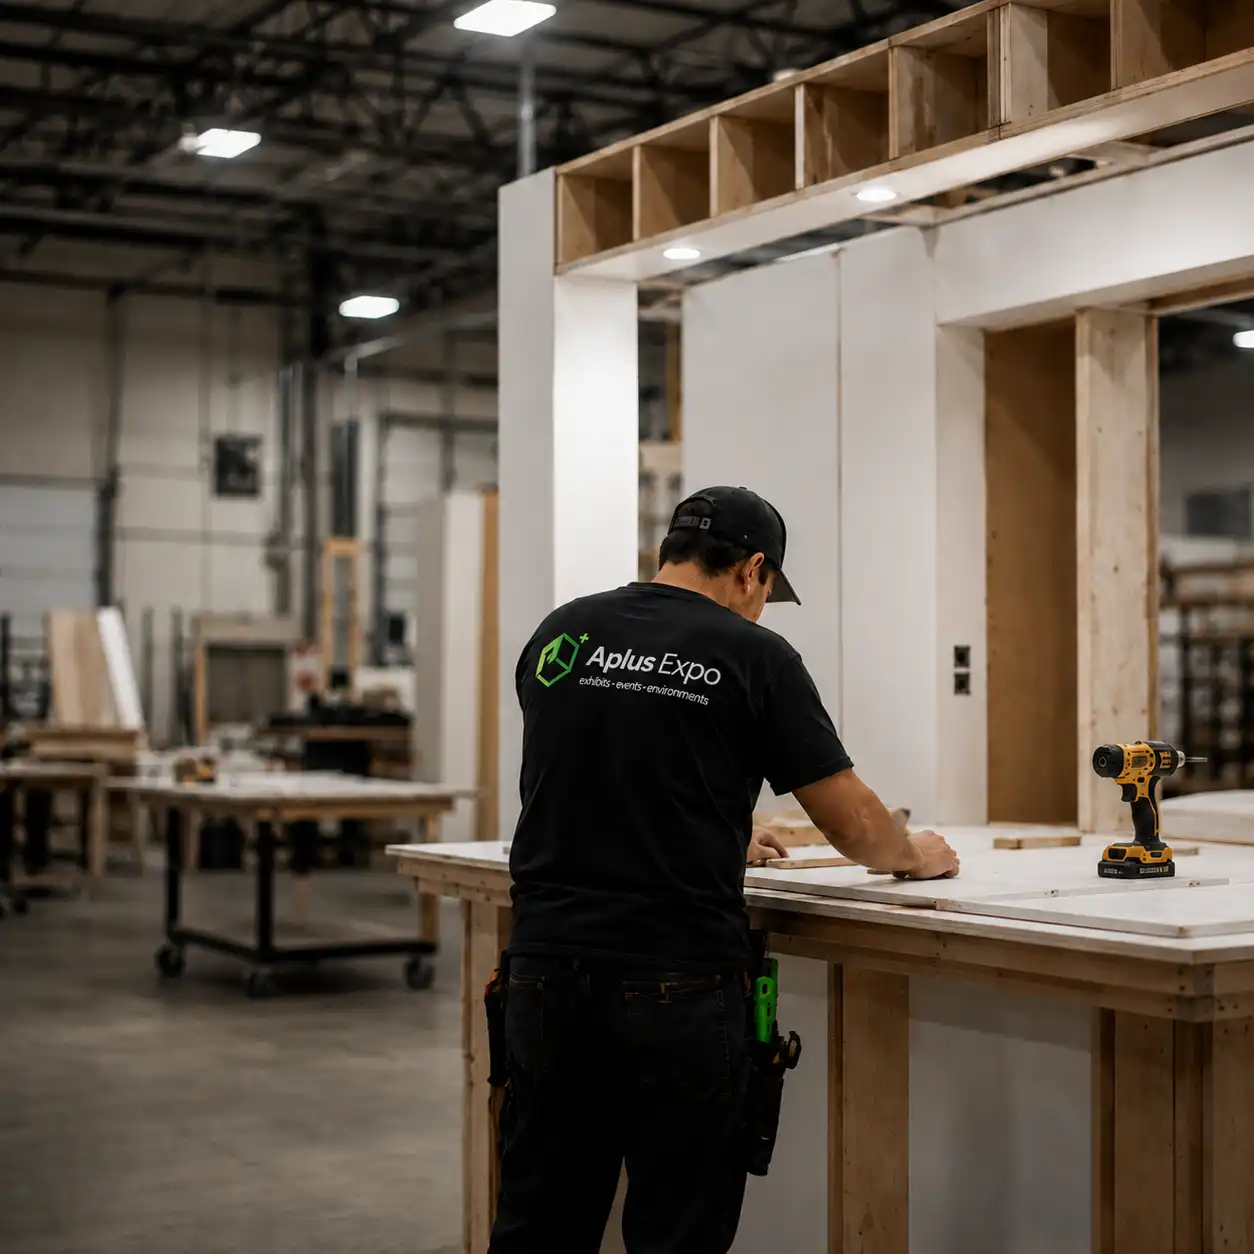
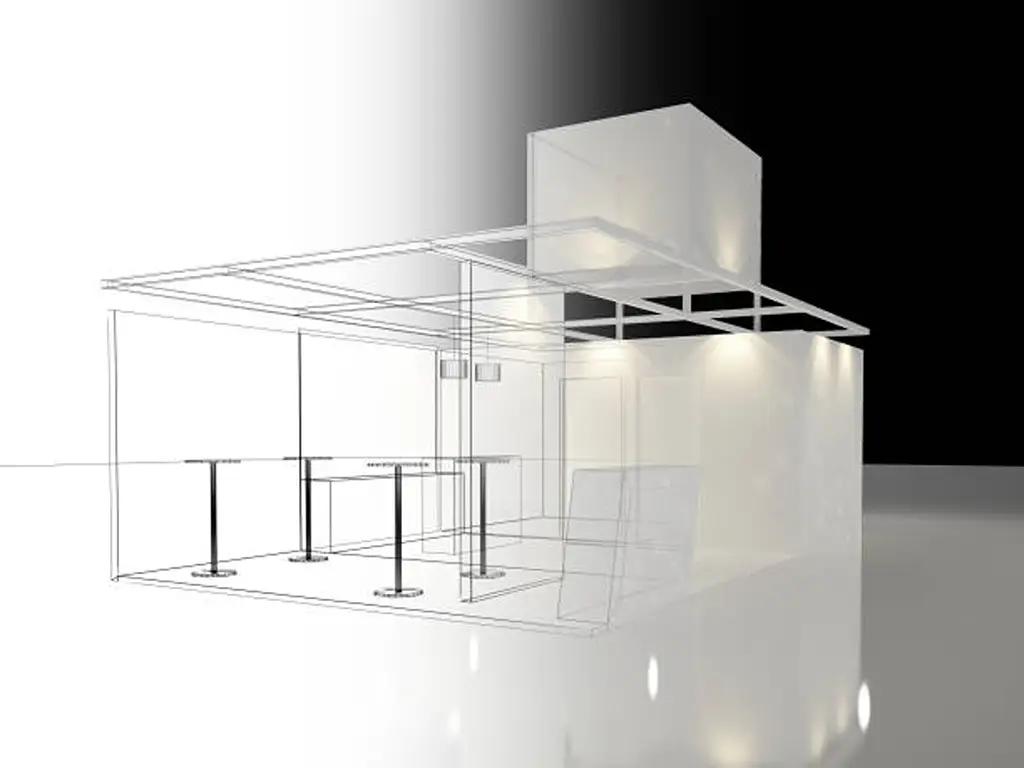
At Aplus Expo, this is how the two processes above run as defaults rather than add-ons. Booth design starts with a free 3D concept and an itemized quote, and accessibility is on the first drawing: where the floor level sits, where the low counter section goes, which touchpoints fall inside the reach band—reviewed before revisions start, not discovered during them (booth design service). Our own 12,500-square-foot factory sits ten minutes from the Las Vegas convention district, with dedicated production, painting, printing, and trial-build workshops under one roof (關於我們). Every booth is trial-built in our factory first—structure up, graphics on the walls, photographed for your sign-off—so the verification step you would otherwise have to demand is already part of the delivery. The print shop reprints graphics the same day when a contrast or legibility problem shows up on site, our AV package is set up so captions stay on by default, and the rental inventory includes the 30-inch tables and removable chairs that solve the bar-height problem on a day’s notice.
One honest boundary, repeated: venue public areas and show-management interpretation services sit outside every builder’s scope. Buy the part that belongs to your booth, and do not pay for the part that does not.
Verification: Trial Build, Opening Morning, and the Behaviors That Break It
The design can be perfect and the booth can still be inaccessible by nine a.m. of day one, because accessibility is half structure and half behavior, and behavior decays.
The most common failure has nothing to do with the floor plan: empty cases, literature boxes, and sample stock migrate into the clear path between move-in and opening, and nobody owns keeping the path clear. The contractor’s daily checklist exists precisely because of this—cords hidden, storage pushed back, signage unobstructed, every morning, by someone whose job it is. Staff behavior is the second half: a conversation held at standing height over a seated visitor, or directed at the companion instead of the visitor, undoes a carefully specified counter. Five minutes in the pre-show briefing covers the habits—eye level, hand the material over, talk to the person.
THE FOUR-BEAT VERIFICATION RUN
Factory trial build
What you sign off is what ships.
Move-in
Paths cleared and cables seated as part of installation.
Opening morning
30 seconds: path clear, captions on, low counter reachable?
Show days
Only failures a crew can fix on the day should remain.
If you are putting a custom booth on a show floor this season, the questions above are worth putting to your builder in writing, starting with where accessibility sits in the first layout and what the trial-build photos will show. At Aplus Expo, our free 3D concept and itemized quote arrive within 48 hours, and the answer to both questions is part of it. Start the conversation here.
See accessibility drawn into your first 3D concept
Send your booth size and show dates. You’ll get a free 3D concept and an itemized quote within 48 hours — platform height, counter sections, and reach-band positions answered on the first drawing.
開始我的專案參考文獻
- ADA.gov. “Title III Overview: Businesses That Are Open to the Public.” U.S. Department of Justice. https://www.ada.gov/topics/title-iii/
- CDC. “Disability Impacts All of Us” (infographic). Centers for Disease Control and Prevention, 2024. https://www.cdc.gov/disability-and-health/articles-documents/disability-impacts-all-of-us-infographic.html
- ExhibitorOnline. “Is Your Booth ADA Compliant?” https://www.exhibitoronline.com/topics/article.asp?ID=3471
- ExhibitorOnline. “Accessible by Design.” https://www.exhibitoronline.com/topics/article.asp?ID=2645
- Trendsetzerei. “Accessible Exhibition Stands: Access, Heights and Contrast.” https://trendsetzerei.de/company-news/accessible-exhibition-stand
- Aplus Expo. “Booth Design.” https://www.aplusexpo.com/service/booth-design/
- Aplus Expo. “About Us.” https://www.aplusexpo.com/about-us/
- Aplus Expo. “Contact.” https://www.aplusexpo.com/contact/
- Aplus Expo。首頁。 https://www.aplusexpo.com/

 English
  Spanish
  German
  French
  Italian
  Korean
  Chinese