
Convention-hall ceilings are designed for one job: lighting the aisles safely. They were never designed to show off your product. That’s why nearly every booth in the building has dark corners, and why the booths that stop foot traffic are almost always the ones carrying their own light. Whether you are buying a couple of clip-on fixtures for a 10×10 or commissioning a 20×20 custom build with backlit walls, the same decision path applies: choose the right fixtures, layer them properly, and decide early who owns the result. (And if you landed here hunting for photo-booth lighting tutorials — different booth. Keep scrolling for trade show lighting.)
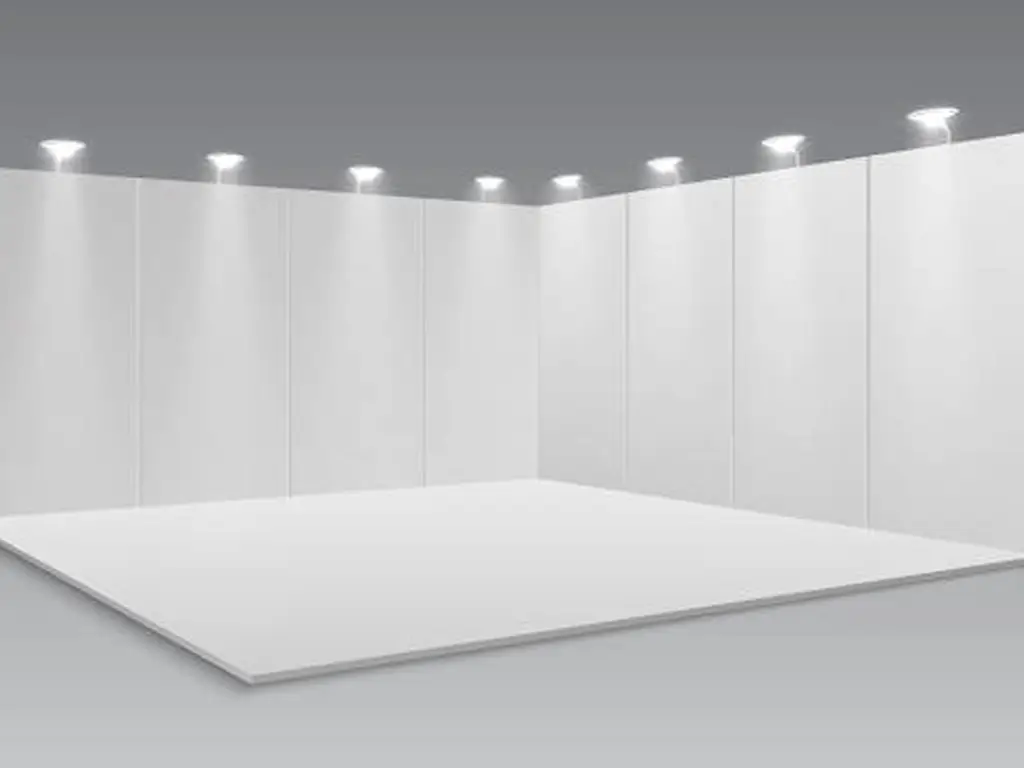
Trade Show Booth Lighting Basics: What Matters Before You Buy Anything
The exhibit hall is a hostile environment for light: ceilings 20–40 feet up, competing fixtures everywhere, and your booth lit from angles that flatten colors and wash out faces. Almost any fixture you bring in will improve on that. The difference between “has lights” and “looks lit” comes down to three decisions you make before you buy.
Fixture type. Each format exists for a reason:
Trade show lighting fixture types and where they earn their keep
| Fixture | 가장 적합한 대상 | 다음 사항에 주의하세요 |
|---|---|---|
| Arm or clip-on lights | Pop-up displays, banner stands, tabletops — aim at a logo or product, move when the layout changes | Cheap arms sag; check reach before buying |
| Battery pucks and spotlights | Areas with no outlet nearby, emergency fill-in light, craft-show tables | Limited brightness and hours — treat as accent, not main light |
| LED light strips | Top-perimeter glow, outlining a header wall, washing a logo wall evenly | Need clean mounting surface; uneven strips show every kink |
| Track or rail spotlights | Beaming products and demo stations with controlled angles | Requires hardware above; plan position before graphics go up |
| Uplights | Washing walls, columns, greenery with soft vertical light | Light spills onto aisle if aimed wrong |
| Lightboxes and backlit SEG | Making the graphic itself the light source — visible from across the hall | Quality varies with media and LED density; cheapest units look patchy |
Color temperature. Three ranges cover nearly every booth, and the choice should follow your product, your printed graphics, and human faces — in that order:
Color temperature: which white for which booth
| Range | Feel | Right for |
|---|---|---|
| 2700–3000K warm | Furniture-show warmth, flattering on skin, cozy reception areas | Wood tones, hospitality, anything where the brand runs warm |
| 3500–4100K neutral | The safest default — truest color rendering for most products | Most trade show booths, mixed product ranges |
| 5000K+ daylight | Crisp, clinical, precise | Jewelry, medical devices, electronics, fine detail that must read exactly |
If a veteran forum thread tells you to run warm halogens because LEDs look cold on faces, that advice belongs to a different decade. Modern neutral LED is the workhorse; save warm for lounge corners and daylight for product tables that need it.
One buying habit pays for itself before you spend anything: never pick a color temperature from a product photo. Borrow a fixture or buy a single sample first. Switch it on against your actual printed graphic and your actual product, and look at it from the distance a visitor will stand. Graphics are printed with a light source in mind; light a cool-white print with warm bulbs and the brand color shifts in front of you. And consistency between zones matters more than any single perfect bulb. Visitors forgive one mediocre fixture; they notice when the third zone of the booth doesn’t match the first two.
Battery vs. Plug-In Lighting — and When DIY Stops Paying Off
Battery fixtures are the fastest-growing category in trade show lighting for a simple reason: they remove the scariest question, which is “where does the power come from?” But the two power paths are not interchangeable, and the marketing rarely tells you where batteries stop working.
Battery vs. plug-in trade show lighting: where each path stops working
| Battery fixtures | Plug-in (110V or low-voltage) |
|---|---|
| Brightness ceiling: enough for accent and close-up fill | Brightness ceiling: enough to wash a whole wall |
| Run time: hours per charge, plan a mid-show swap | Run time: indefinite |
| Setup freedom: point anywhere, no cords | Setup: cords and placement follow outlets unless wired in |
| Hidden dependency: none | Hidden dependency: exhibit-hall power orders. Most venues require an electrical order with a deadline and a fee tier; union-staffed halls route it through their electricians |
The honest rule of thumb: battery light does addition (two bright spots on a tabletop), plug-in light does multiplication (an entire wall, a whole light environment). A 10×10 tabletop show can run happily on batteries and a shared aisle outlet. The moment you need a logo wall to read as a wall of light, or three zones lit consistently, you have crossed into plug-in territory and into the venue’s power-order process, which first-timers discover the hard way on move-in day.
That venue process is also where DIY trade show lighting starts to cost more than it saves. Buying fixtures is easy; designing a layout that stays even across a 10×20 is a different project. Strips must be cut to your actual structure, every cable matched to the booth’s power reality, everything tested before move-in. That work usually lands on the marketing coordinator who already owns the show.
The ceiling of DIY isn’t quality. It’s who answers when the lights don’t work.
Booth Lighting Ideas That Hold Up: Three Layers and the Failure Modes That Kill Them
Most trade show booth lighting ideas you will find online fall into two buckets: product listings disguised as advice, and Pinterest boards that assume your booth has a ceiling grid and a dimmer. The versions that actually survive contact with a show floor follow one architecture: three layers of light, each with one job.
The three layers that make a booth look lit — not just lit up
Build the light in three layers
Wash — lift the whole space. Raise the ambient level first so the booth doesn’t feel like a cave: LED strips along the top perimeter, uplights at wall bases, or track heads bounced off the ceiling. Even coverage here is what separates “bright spot in a dark booth” from “a booth that looks open for business.”
Accent — aim at what sells. People’s eyes follow the brightest object in their field of view. That is your free advertising: spot the product, spot the logo, spot the demo table. Three well-aimed accents beat ten random fixtures.
Backlight — make the graphics glow. SEG lightboxes, backlit header walls and luminous channel letters turn the booth itself into a light source that reads from 40 feet away. This is the layer that gets you noticed before the visitor is in your aisle.
Two-layer is fine on a 10×10 (wash + accent); three-layer earns its keep at 10×20 and larger, where the backlit header is often the single most visible element in the booth.
Four failure modes — and what each one costs you
Booth lighting failure modes: causes and the fix that works
| Failure | What it looks like | Real fix |
|---|---|---|
| Glare and reflections | Light hits glass, acrylic or gloss graphics and bounces back at visitors — product invisible, logo unreadable | Angle beams away from reflective surfaces; add diffusers; use matte media on glossy products |
| Too dark to matter | Booth reads as empty or closed from the aisle; photos look like the lights are off | Lift ambient layer first; never light only the product and leave the space dark |
| Color cast on the wrong things | Warm light turns white product yellow; cool light makes faces look gray; mixed fixtures give one booth three color temperatures | Pick one temperature per zone; match it to product + printed graphics; buy fixtures from one source per zone |
| Nothing adjustable on site | Installed, powered, wrong — and nobody can change it until after the show opens | Require a pre-build with lights on, and a person on call who can reach the floor |
None of these is a fixture problem
Glare, darkness, color cast and dead-on-arrival setups are aiming, coverage, consistency and response failures — the kind that fixture lists cannot fix, but process can.
When Lighting Becomes a System: What to Verify Before You Sign
The shift happens somewhere between a 10×20 and a 20×20. You are no longer choosing fixtures; the light is being designed into the booth: backlit panels, channel letters, LED strips embedded in the frame, accent spots coordinated with a video wall. At this scale, trade show lighting stops being a purchase and becomes part of the exhibit contract. And that is exactly when the old DIY failure modes change shape. Instead of buying the wrong light, you commit to a wrong design, wrong pre-wiring, or wrong on-site support, with a much larger invoice attached.
Five checks that settle whether lighting is actually being delivered
Run the lighting through five checks before you sign
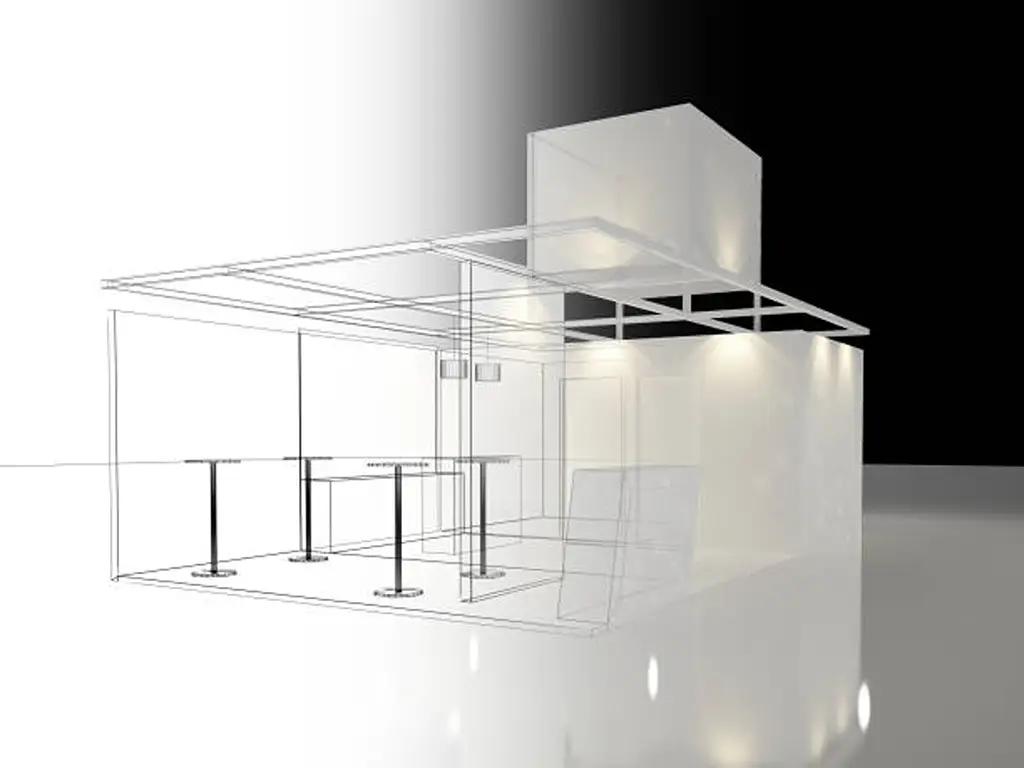
Is the light in the drawings? The 3D concept should show fixture positions, color temperatures and the light effect — not just the structure. Light you can see in the design stage rarely surprises you on the floor.
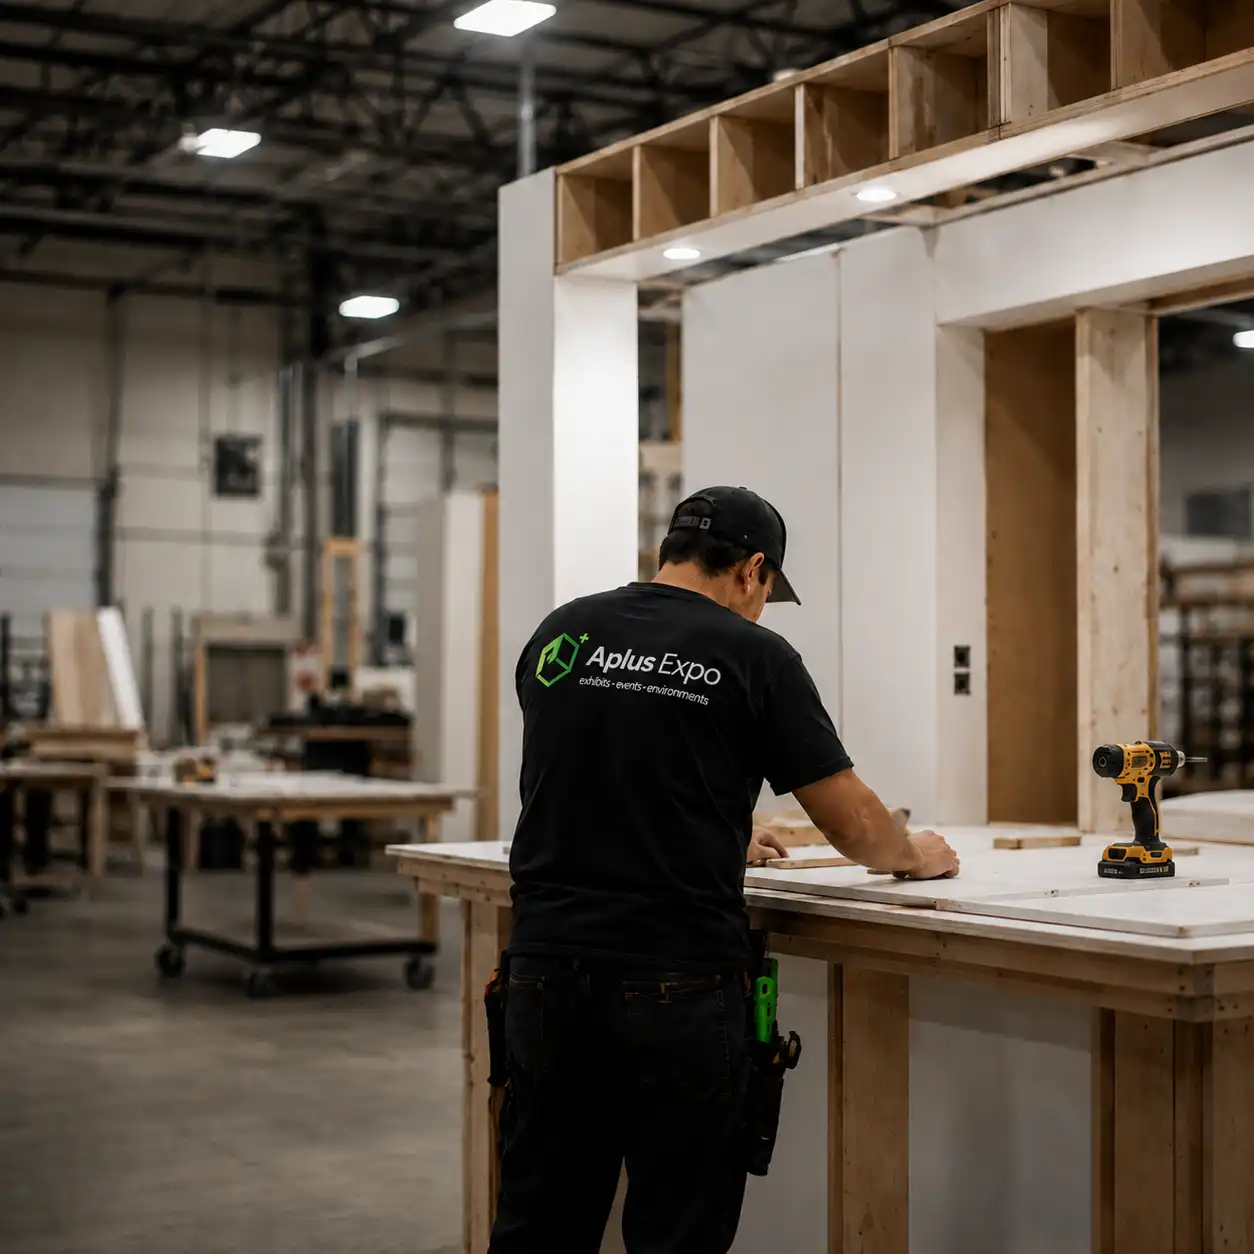
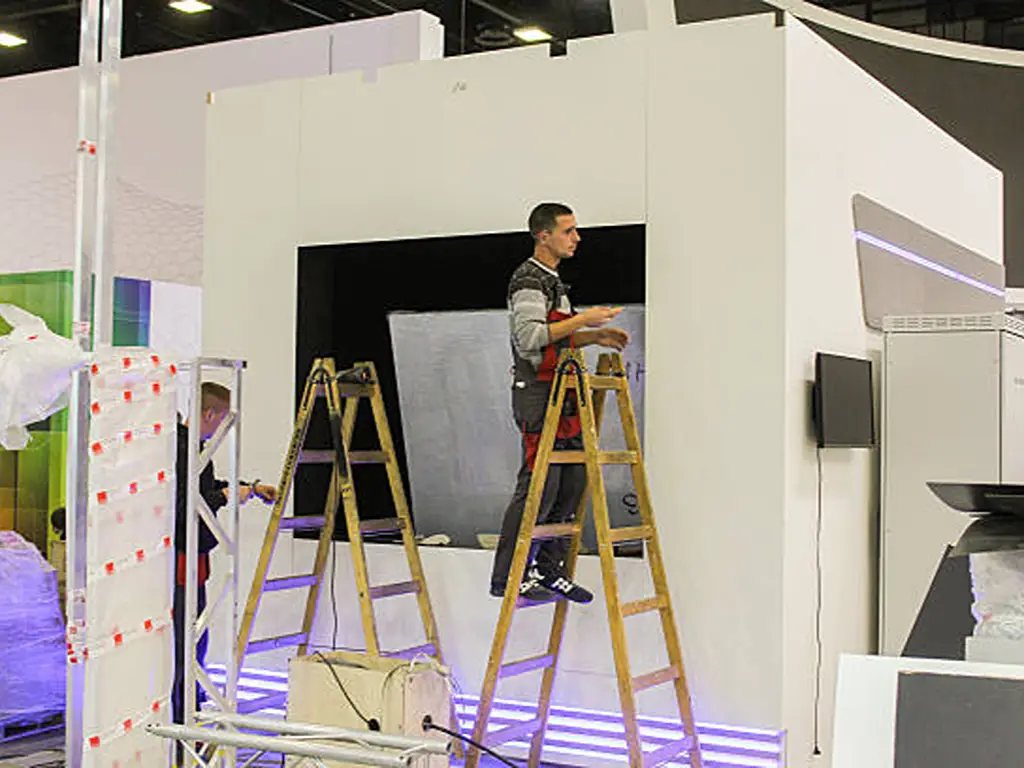
Is the light actually installed at trial-build? The booth should be fully assembled in the factory with lighting on and graphics hung, then photographed. That photo is your proof — the strongest verification tool you have, especially if you are approving from another country.
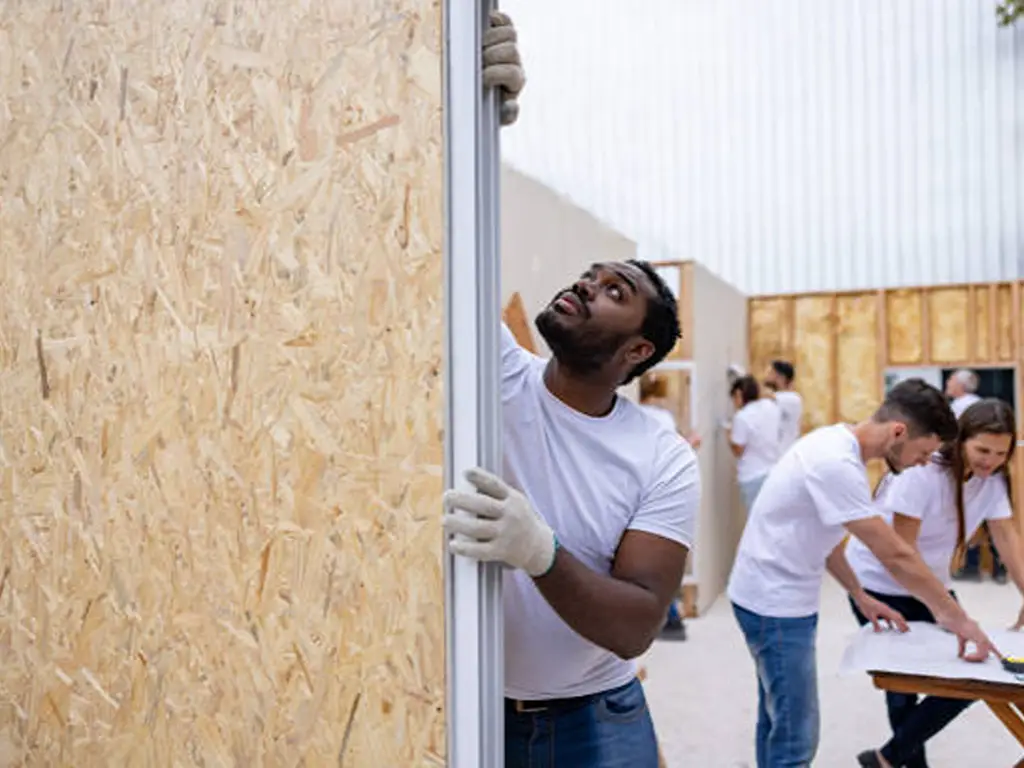
Who handles power and rigging? Power orders, rigging deadlines and union-hall coordination in cities like Chicago or New York add real cost and complexity that first-time exhibitors never expect. Confirm it is inside the quoted scope.
Who is on call during the show? Lights burn out, graphics get damaged, something needs adjusting on day one. Ask who responds and how fast — same-day reprinting capability is a different experience from shipping a replacement.
Is the bill closed before the show closes? Confirm the quote is itemized and final, with no post-show invoicing. Lighting adjustments that require extra labor are exactly the kind of line item that shows up later if it isn’t in the agreement.
None of this requires you to become a lighting contractor — it requires a booth builder that treats light as part of the deliverable, the way a full-service custom booth builder should. Aplus Expo builds every booth twice: once in our Las Vegas factory, where the lighting is installed, switched on, and the finished exhibit photographed for your sign-off; then again on the show floor, as a fast re-assembly of a system already proven to work. That factory photo is where lighting surprises die — before they can cost you a show day. We also keep a project manager on call through the show and run our own print shop in-house, so the two problems that most often kill booth lighting — nobody to adjust it, and nobody to fix the graphics it reveals — both have an owner within reach.
The verification moment
Built twice. Photographed once.
Light is the hardest thing to judge from a rendering — and the easiest to verify from a photo of the real thing.
Which path fits your booth: DIY, rental, or full system?
Three paths to a lit booth — and when each stops working
| Path | Fits when | Switch paths when |
|---|---|---|
| Buy fixtures, self-install | Small booth (10×10), local show, willing coordinator, simple layout | You start buying a second set of lights; you need an even wall of light; your coordinator is already over capacity |
| Rent a booth with lighting included | 10×10–10×20, one-off shows, you want a proven look without hardware to store | You need custom light effects (backlit shapes, channel letters, coordinated video wall) |
| Custom or rental booth with integrated lighting | 20×20 and up, brand-critical look, multi-show program, remote approval needed | Your booth is a tabletop and a banner — integration buys nothing you will use |
What Good Booth Lighting Actually Costs — and What It’s Worth
The most useful thing to know about trade show lighting budgets is that the fixtures are the cheapest part of the bill. A strip of LEDs costs tens of dollars; what costs real money is everything around it: the design time that positions the light, the fabrication that embeds it in the structure, the labor that installs, aims and troubleshoots it, and the rework when it is wrong — because rework on a show floor is priced in overtime, not in parts.
That is also why “how much does lighting cost” is the wrong question for anything bigger than a tabletop. The right question is structural: does this quote include the light, who aims it on site, and who answers when it fails? For most exhibitors, the booth is a one-time use — which is exactly why rolling lighting into a rental or custom build is the cost-efficient answer: you pay once for a designed, proven system instead of buying hardware that goes into storage. For that conversation to be useful, ask your builder for light you can see before you pay for it — at Aplus Expo, that takes the form of a free 3D design with an itemized breakdown, delivered within 48 hours.
If your next show is in Las Vegas — or your booth is shipping into one — we would welcome the chance to show you what trial-built lighting looks like before you commit. Start with a free quote; the 3D concept and itemized estimate follow within two days.
See Your Booth’s Light Before You Build It
Free 3D design and an itemized quote within 48 hours — lighting shown in the drawings, proven at trial-build, ready on show day.
Start My Free 3D Design참고문헌
- Aplus Expo. “Custom Trade Show Booths.” https://www.aplusexpo.com/service/custom-booth-8/
- Aplus Expo. “Free Booth Design & 3D Rendering.” https://www.aplusexpo.com/service/booth-design/
- Aplus Expo. “Exhibit Manufacturing.” https://www.aplusexpo.com/service/exhibit-manufacturing/
- Aplus Expo. “Graphics Printing & Displays.” https://www.aplusexpo.com/service/graphics-printing-displays/
- Aplus Expo. “Installation & Dismantling.” https://www.aplusexpo.com/service/installation-and-dismantling/
- Aplus Expo. “Audio Visual Equipment Rental.” https://www.aplusexpo.com/service/audio-visual-equipment-rental/
- Aplus Expo. “연락처.” https://www.aplusexpo.com/contact/
 English
  Spanish
  German
  French
  Italian
  Korean
  Chinese